
|
Do it yourself
| |||
| ||||


If the Headlights on the Fiat Panda Don't Work, It Might Not Be the Bulbs
Model: Fiat Panda
169, MK 2
- Years 2003-2012
The issue is not the bulbs, but a design flaw in the electrical system that leads to overheating and melting of the Body Computer connector. Here's how it works. The main cause is undersized wiring. Fiat engineers used wires that are too small to power the dipped beam headlights, which draw 55W each. The current passing through these wires is excessive and, without a relay to manage the load, the heat generated overheats the contacts of the grey connector of the Body Computer, melting the plastic and burning the pins. This fault is so common that Fiat has created a specific repair kit (code 71745167) to replace the damaged connector and burnt wires. This issue is also confirmed by a technical bulletin from HELLA, which indicates checking pins 7 (grey-black wire) and 8 (grey wire) of the connector. If you encounter this problem, you can carry out a DIY repair with the Fiat kit: the safest and most effective method is to purchase the original Fiat kit (code 71745167). It can be found on Amazon under code B0GHKG85XX for £17.99 plus £0.99 delivery. This kit replaces the burnt connector and wires with a more robust one, solving the problem at its root.
Posted on 19 June 2026 by ScegliAuto
Video tutorial
Related tutorials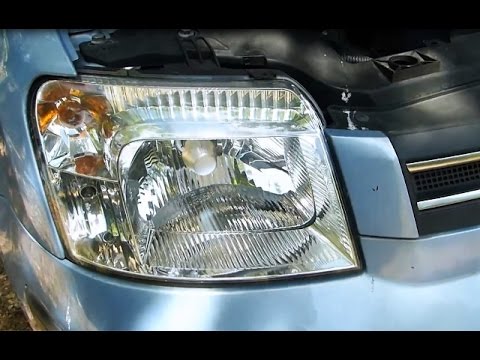
Fiat Panda
(2003-2012 /
169, MK 2)
Are the headlight bulbs on your Panda damaged? Not lighting up anymore? Here's how to change them. Open the bonnet by pulling the lever located at th…
Fiat Panda
(2003-2012 /
169, MK 2)
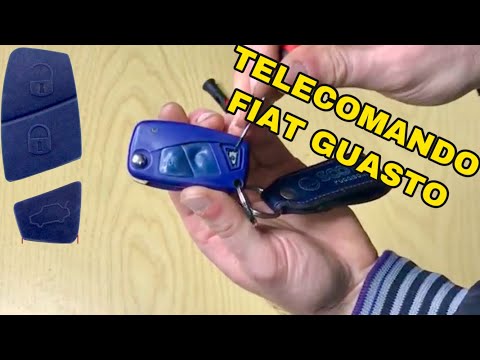
If the Fiat Panda remote isn't working, it isn't necessarily the remote's fault. In the case shown in this video, the issue is worn rubber buttons, a…

Fiat Panda
(2003-2012 /
169, MK 2)
This tutorial shows how to replace the number plate light bulbs on a Fiat Panda, a very simple and quick operation. Before proceeding, ensure that th…
Other guides you may be interested in
|
How to Check the Oil Level on a Jeep Renegade?
To check the oil level on a Jeep Renegade, you need to open the bonnet to access the components inside the engine bay: on the lower left side of the engine block, you will find the dipstick for checking the level. This should be pulled out and thoroughly cleaned with a cloth: once cleaned, reinsert it back into its tube and pull it out immediately after. This way, you can check that the oil mark is between the minimum and maximum levels; finally, you can place the dipstick back in its tube. by ScegliAuto More videos
|

|
For advertising on this site Write to info@scegliauto.com
ScegliAuto is not responsible for any inaccuracy of the data in the lists. To report any inaccuracy or your business (if you own the business in question), please write to info@scegliauto.com
Number of seconds to generate the page: 1.124
(c) ScegliAuto 2026 - info@scegliauto.com - Privacy policy VAT number: IT01247470535 |
