
|
Do it yourself
| |||
| ||||


Aesthetic transformation of a Fiat Panda with a reduced budget
Model: Fiat Panda
169, MK 2
- Years 2003-2012
In this video we see how to aesthetically refurbish a rundown Fiat Panda with a very low budget: we start by sanding the plastic parts with increasingly fine sandpaper, starting from 300 up to 800, protecting the rubber parts and spraying with a plastic primer. Now we move on to the bodywork, protecting all the parts that should not be painted, and sanding everything with sandpaper, using the same system as for the plastic parts. Of course, the car was perfectly cleaned beforehand; the work must be done indoors, in a well-ventilated place, so do not hesitate to use a fan to increase the airflow. The layers of paint must be light and overlapping; after the two coats, move on to the polish, let it dry for a couple of days, and then remove the protections and reassemble the headlights, mirrors, and anything else that was removed.
Posted on 10 April 2024 by ScegliAuto
Video tutorial
Related tutorials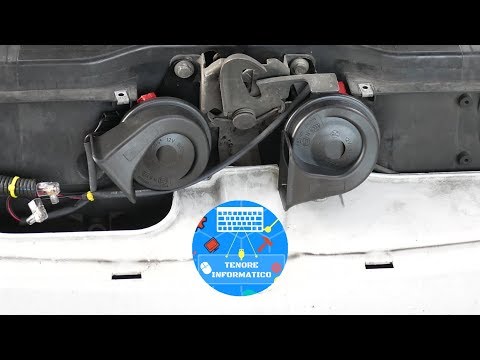
Fiat Panda
(2003-2012 /
169, MK 2)
Before you can begin, open the front bonnet of your Fiat Panda. Start by unscrewing and removing the screws that secure the front mask, then remove t…
Fiat Panda
(2003-2012 /
169, MK 2)
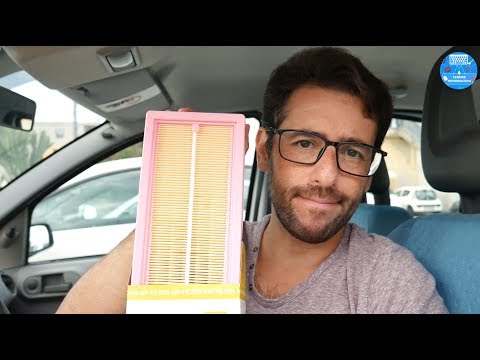
Before you can start, open the bonnet of your Fiat Panda to access the engine bay. Begin by unfastening the clips that secure the air filter cover. T…
Fiat Panda
(2003-2012 /
169, MK 2)
Before starting, open the front bonnet of your Fiat Panda. Begin by unscrewing and removing the screws that secure the grille at the front of the car…
Other guides you may be interested in
|
Frequently Asked QuestionsHow to Check the Oil Level on a Jeep Renegade?
To check the oil level on a Jeep Renegade, you need to open the bonnet to access the components inside the engine bay: on the lower left side of the engine block, you will find the dipstick for checking the level. This should be pulled out and thoroughly cleaned with a cloth: once cleaned, reinsert it back into its tube and pull it out immediately after. This way, you can check that the oil mark is between the minimum and maximum levels; finally, you can place the dipstick back in its tube. by ScegliAuto More videos
|

|
For advertising on this site Write to info@scegliauto.com
ScegliAuto is not responsible for any inaccuracy of the data in the lists. To report any inaccuracy or your business (if you own the business in question), please write to info@scegliauto.com
Number of seconds to generate the page: 0.182
(c) ScegliAuto 2026 - info@scegliauto.com - Privacy policy VAT number: IT01247470535 |
