
|
Do it yourself
| |||
| ||||


Fiat Bravo - Video tutorial
Model: Fiat Bravo
Bravo 2
- Years 2007-2014 Removing the damaged front bumper on a Fiat Bravo? Let's see the disassembly. Let's lift the bonnet and put it in safety. With a plastic lever we remove the rivets or the fastening screws placed in the upper part of the bumper. Once the rivets in the upper part have been removed, we unscrew the stone guard rivets and finally remove the pins located in the lower part of the bumper. We remove the headlights from the bumper if they give problems. We remove the bumper from the car with our hands. We fix the bumper on the front with our hands, proceed to tighten all the screws both around the stone guard and around its perimeter. We mount the headlights if previously disassembled.
Posted on 3 December 2023 by ScegliAuto
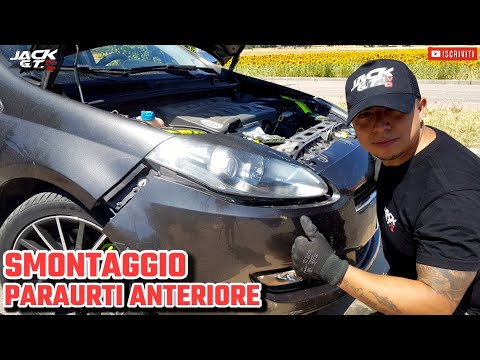 How to remove the bumper of a Fiat Bravo
Fiat Bravo (2007-2014 / Bravo 2) Before starting, we will have to open the front hood of our Fiat Bravo. So let's start by unscrewing and removing the screws on the upper side of the 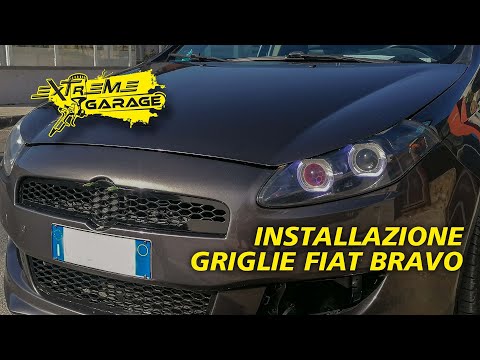 Replacement of the front bumper grilles of the Fiat Bravo
Fiat Bravo (2007-2014 / Bravo 2) In this short and simple guide, we will see how to disassemble and replace the front bumper grilles of the Fiat Bravo, following the instructions bel 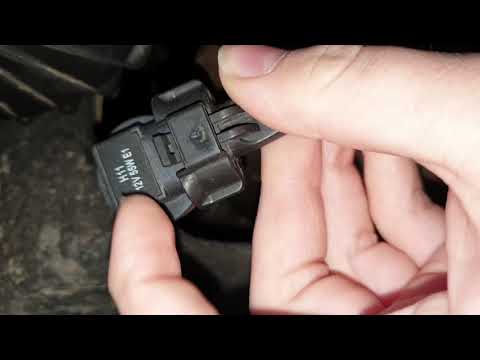 How to remove the fog light bulb on a Fiat Bravo
Fiat Bravo (2007-2014 / Bravo 2) We replace the fog light bulb of a Fiat Bravo. Let's see how to disassemble the damaged bulb. We disassemble the plastic trim at the bottom of the bu Other guides that may interest you |
Disassembly of the gear knob on the Lancia Ypsilon 2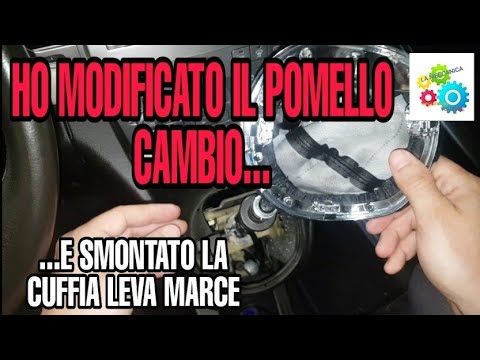
Today we will see, in this video tutorial, how to remove and replace the gear knob on the second series Lancia Ypsilon, but also on the Lancia Musa, in simple and quick steps. We get inside the car and start by removing the old gear knob; to do this, just unscrew it anticlockwise, as shown in the video. At this point we also remove the gearshift gaiter, in order to replace, if necessary, it too; we just have to fix the new headset and insert the new gear knob, screwing it correctly and without creating play on the gear lever! by ScegliAuto More videos
|
|
For advertising on this site Write to info@scegliauto.com
ScegliAuto is not responsible for any inaccuracy of the data in the lists. To report any inaccuracy or your business (if you own the business in question), please write to info@scegliauto.com
Number of seconds to generate the page: 0.061
(c) ScegliAuto 2024 - info@scegliauto.com - Privacy Policy VAT number: IT01247470535 |