
|
Do it yourself
| |||
| ||||


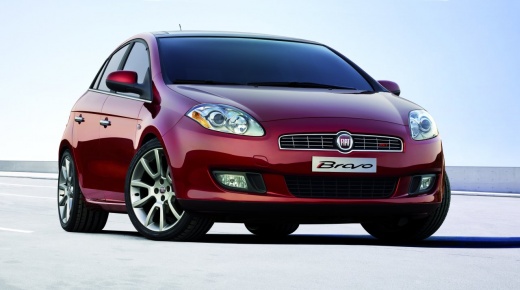
Replacing the Front Bumper Grilles of the Fiat Bravo
Model: Fiat Bravo
Bravo 2
- Years:
2007, 2008, 2009, 2010, 2011, 2012, 2013, 2014
Video tutorial
In this brief and simple guide, you will learn how to dismantle and replace the front bumper grilles of the Fiat Bravo, following the instructions below. The removal of the bumper grilles is done with the bumper removed; therefore, open the bonnet and unscrew all the fixing screws to remove it. At this point, pry on the side of the grilles to remove them, pushing from the inside to facilitate removal; then install the two new bumper grilles, applying the reverse procedure for reattaching the bumper to the bodywork.
Updated on 24 August 2026 by ScegliAuto
Related tutorials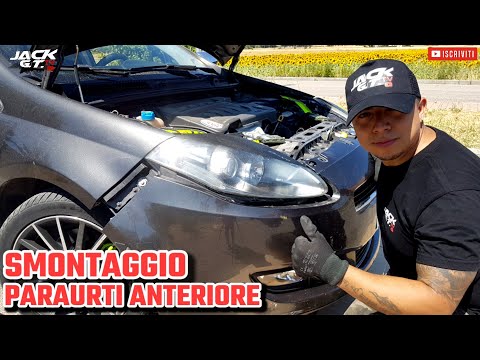
Fiat Bravo
(2007-2014 /
Bravo 2)
Before starting, open the front bonnet of your Fiat Bravo. Begin by unscrewing and removing the screws located on the upper side of the bumper. Next,…

Fiat Bravo
(2007-2014 /
Bravo 2)
Removing the damaged front bumper on a Fiat Bravo? Here’s how to do it. Lift the bonnet and secure it. Use a plastic lever to remove the rivets or sc…
Fiat Bravo
(2007-2014 /
Bravo 2)
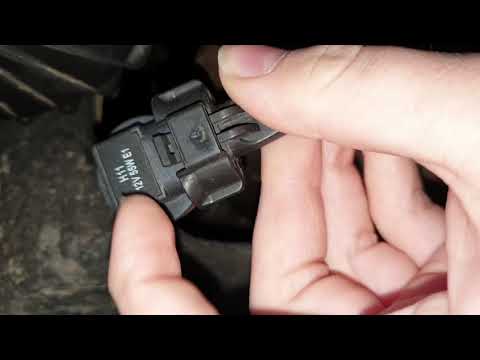
Replace the fog light bulb on a Fiat Bravo. Here’s how to remove the damaged bulb. Remove the plastic cover at the bottom of the bumper (plastic cap)…
Other guides you may be interested in
|
How to Remove the Toll Tag Holder from the Car Windscreen
The toll tag holder is usually attached to the car windscreen to ensure that the toll tag functions immediately when passing through barriers. However, if you decide to remove the holder, you should follow this procedure: - Insert the toll tag into the holder; - Pull the holder inwards to detach it from the windscreen; you can use a glass scraper or a stiff plastic card to assist you; After removing the holder, it is essential to remove the adhesive from the windscreen. To remove the adhesive, we recommend using a solvent-based spray that will remove the glue without clouding the area. by ScegliAuto More videos
|
|
For advertising on this site Write to info@scegliauto.com
ScegliAuto is not responsible for any inaccuracy of the data in the lists. To report any inaccuracy or your business (if you own the business in question), please write to info@scegliauto.com
Number of seconds to generate the page: 0.076
(c) ScegliAuto 2026 - info@scegliauto.com - Privacy policy VAT number: IT01247470535 |
