
|
Do it yourself
| |||
| ||||


How to Replace the Cabin Filter on a Fiat Ducato
Model: Fiat Ducato
X290
- Years 2014-2026
Before starting, sit in the passenger seat of your Fiat Ducato. Begin by removing the two covers located on the lower section of the centre console. This will expose the screws that secure this section, which you will need to remove. Once you have completed this step, disconnect the relevant electrical connector, allowing you to remove the lower section of the centre console. Next, unscrew the screws securing the cover that protects the cabin air filter, and then remove the cover itself. Once you have removed this cover, you will expose the filter block cap, which you need to remove to access the cabin air filter. At this point, you can remove it, and the disassembly will be complete. To install the new filter and reassemble everything, repeat these instructions in reverse, and the replacement will be finished.
Updated on 4 April 2026 by ScegliAuto
Video tutorial
Related tutorials
Fiat Ducato
(2002-2006 /
)
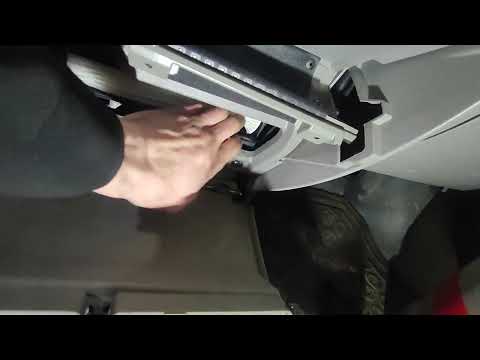
This video demonstrates how to replace the cabin air filter in the Fiat Ducato 2 van, a very simple operation. Start by opening the central glove com…
Fiat Ducato
(2006-2014 /
X250)
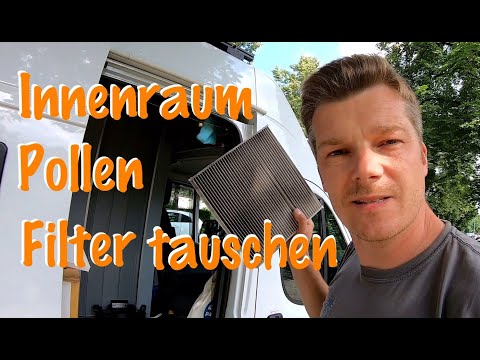
In this new mini guide for all Fiat Ducato x250 owners, we will discover where the cabin air filter is located and how to replace it. Go inside the v…
Fiat Ducato
(2014-2026 /
X290)
Replacing the cabin filter in a Fiat Ducato van is an extremely simple and quick task. First, enter the vehicle. Remove the two small caps located on…
Other guides you may be interested in
|
How to replace the horn on a Renault Duster - Dacia Duster
Today's main instructions will show you the procedure for removing and replacing the horn or sound signal on the Renault Duster, as well as the Dacia Duster. First, open the bonnet of the vehicle and start removing the front bumper by unscrewing all the fixing screws; you will find the horn right in front of the radiator, as shown in the video. At this point, disconnect the electrical connector and unscrew the bracket screw to remove and replace the horn with the new one; finally, reassemble the front bumper! by ScegliAuto More videos
|
|
For advertising on this site Write to info@scegliauto.com
ScegliAuto is not responsible for any inaccuracy of the data in the lists. To report any inaccuracy or your business (if you own the business in question), please write to info@scegliauto.com
Number of seconds to generate the page: 0.420
(c) ScegliAuto 2026 - info@scegliauto.com - Privacy policy VAT number: IT01247470535 |
