
|
Do it yourself
| |||
| ||||


How to remove the position light bulb of a Fiat Panda
Model: Fiat Panda
319, MK 3
- Years 2012-2024
Before we can start, we will have to turn the wheels of our Fiat Panda to the left, so as to obtain the necessary space to work. So let's start by unscrewing and removing the screws that secure the internal wheel arch, and then remove the wheel arch itself. By doing so, we will have reached the rear side of the position light. We then proceed by going to disconnect the rear connector. At this point, we will have to go and unhook the hook that blocks the bulb. When we have completed this step, we will be able to extract the bulb from its housing, and the disassembly will be finished.
Posted on 14 January 2021 by ScegliAuto
Video tutorial
Related tutorials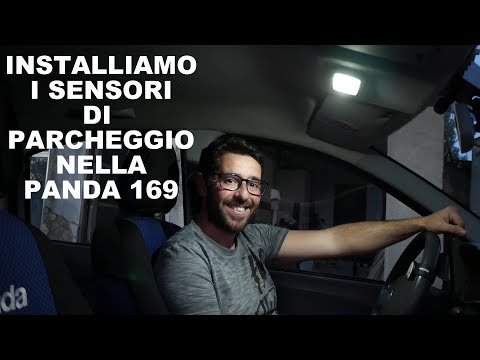
Fiat Panda
(2003-2012 /
169, MK 2)
In today's video tutorial we will see how to remove or replace the parking sensors of the Fiat Panda, following the instructions below. First of all,…

Fiat Panda
(2003-2012 /
169, MK 2)
Replacing the front headlight bulb of your Fiat Panda is really very simple and to complete the operation you just need to follow the procedure descr…

Fiat Panda
(2012-2024 /
319, MK 3)
Replacing the headlight bulb of the Fiat Panda is a simple and quick operation that can be done independently. To replace the bulb, we need to open t…
Other guides you may be interested in
|
How to Remove the Spark Plugs on an Opel Astra
Want to remove the spark plugs on an Opel Astra? Here's how to proceed: pull the engine bay release lever and lift the front bonnet, securing it. Remove the plastic cover on the soundproofing panel covering the engine (if present), then remove the pins on the coil bar using a screwdriver. Disconnect the coils by hand after unplugging the power connector, then use your socket to unscrew the spark plugs and pull them out of the cylinder head. Take the new spark plugs and guide them into the engine head with the socket extension, tighten them and reconnect the respective power connectors. Finally, close the engine bay. by ScegliAuto More videos
|

|
For advertising on this site Write to info@scegliauto.com
ScegliAuto is not responsible for any inaccuracy of the data in the lists. To report any inaccuracy or your business (if you own the business in question), please write to info@scegliauto.com
Number of seconds to generate the page: 0.064
(c) ScegliAuto 2026 - info@scegliauto.com - Privacy policy VAT number: IT01247470535 |