
|
Do it yourself
| |||
| ||||


How to Fix the Noise in the Boot Lid
Model: Fiat Punto
MK 2, 188
- Years 1999-2011
The following guide illustrates how to resolve the noise issue in the boot lid. Unscrew the two screws and then simply pull. You may notice that the noise in the boot lid is caused by one of the two screws, number ten, which is not tightened properly. Ensure that the motor is securely closed, and you can then reattach the panel by first applying the small cover that was removed earlier. You can also adjust the two rubber bumpers of the boot, which can be screwed in and out; if they have a bit of play, they may be one of the causes of the noise.
Updated on 9 February 2026 by ScegliAuto
Video tutorial
Related tutorials
Fiat Punto
(1993-1999 /
MK 1, 176)
Over time, leaves and debris can accumulate in the heating fan. This results in an unusual and annoying noise from the fan, and if the problem is not…
Fiat Punto
(1999-2011 /
MK 2, 188)
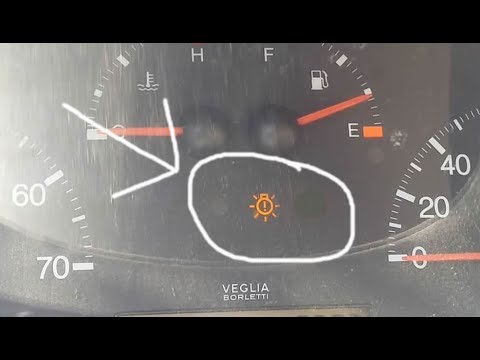
Why does the warning light flash as soon as we turn on the lights? In this video, learn how to remove the right rear light of a Punto to solve the pr…
Fiat Punto
(1999-2011 /
MK 2, 188)
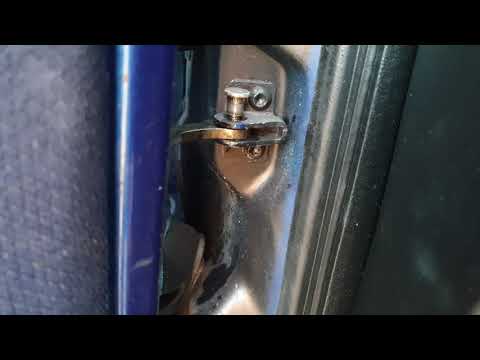
Let's see how to resolve the annoying noise from the hinge of a Fiat Punto. Add an O-ring (seal) to your rod. Open the car door, and with a hex key, …
Other guides you may be interested in |
Frequently Asked QuestionsHow to Replace the Remote Battery for the Volvo XC40?
In this tutorial, you will see how to replace the battery in the remote for the Volvo XC40, a very simple and quick operation. For this, you will need a replacement battery of type CR2032 and possibly a small flathead screwdriver. First, remove the front cover by pressing the button on the metal ring, then locate the second button, press it as well, and remove the opposite cover. Next, open the circular cap, take out the old battery, and insert the new one in the opposite direction. Finally, reassemble everything. by ScegliAuto More videos
|
|
For advertising on this site Write to info@scegliauto.com
ScegliAuto is not responsible for any inaccuracy of the data in the lists. To report any inaccuracy or your business (if you own the business in question), please write to info@scegliauto.com
Number of seconds to generate the page: 0.564
(c) ScegliAuto 2026 - info@scegliauto.com - Privacy policy VAT number: IT01247470535 |
