
|
Do it yourself
| |||
| ||||


How to repair the sun visor on the Fiat Bravo?
Model: Fiat Bravo
Bravo 2
- Years 2007-2014
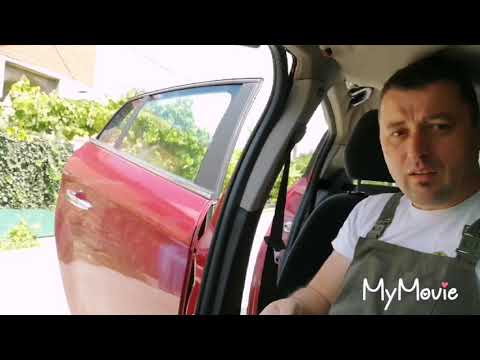
To be able to repair the sun visor of the Fiat Bravo, it must be removed completely by detaching the pin on the inside of the visor itself. Once the pin has been released, it will be possible to unscrew the screw that fixes the visor thanks to its external pin, so that it can be completely removed. This will allow you to replace the screw inside this pin, which is often subject to damage. After the replacement, it will be possible to insert the new one, fixing it with the screw and inserting it into the pin from the inside.
Posted on 25 March 2022 by ScegliAuto
Video tutorial
Related tutorials
Fiat Bravo
(2007-2014 /
Bravo 2)
Unhook the sun visor on the semi-free side, just like when you want to cover yourself from the light coming from the side window. Now unscrew the fix…
Fiat Bravo
(2007-2014 /
Bravo 2)
Let's go and see in this guide the steps that will allow us to remove the headliner or the internal lining of the roof of the Fiat Bravo. First of al…

Fiat Bravo
(2007-2014 /
Bravo 2)
How to replace a damaged car stereo on a Fiat Bravo? Let's see the disassembly. We use the original metal keys to disassemble the stereo of the Fiat …
Other guides you may be interested in |
How to Replace the Gear Shift Gaiter of the Honda CR-V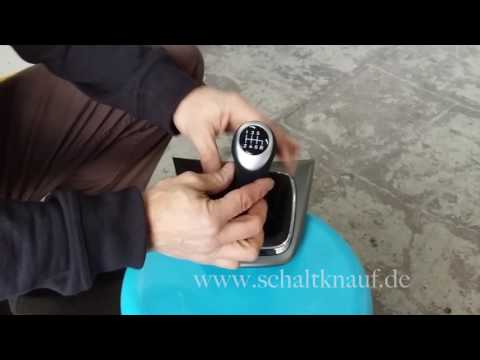
You can purchase an aftermarket gear shift cover complete with a knob, made of leather with coloured stitching. The disassembly is quite straightforward: start by unscrewing the gear shift knob by twisting it. Next, detach the trim at the base of the gear lever by prying along the edges. Then, remove the chrome trim that holds the gaiter in place, peeling off the leather edges from the plastic support. Apply new double-sided adhesive to the plastic tabs to insert and stick the edges of the new gaiter, securing it with the chrome trim. Finally, fit the gaiter complete with the knob onto the gear lever, securing it with the appropriate screws and reattaching the trim to the tunnel support. by ScegliAuto More videos
|

|
For advertising on this site Write to info@scegliauto.com
ScegliAuto is not responsible for any inaccuracy of the data in the lists. To report any inaccuracy or your business (if you own the business in question), please write to info@scegliauto.com
Number of seconds to generate the page: 0.044
(c) ScegliAuto 2026 - info@scegliauto.com - Privacy policy VAT number: IT01247470535 |