
|
Do it yourself
| |||
| ||||


Where is the EOBD port on the Fiat Ducato MK2?
Model: Fiat Ducato
MK 2
- Years 1993-2016
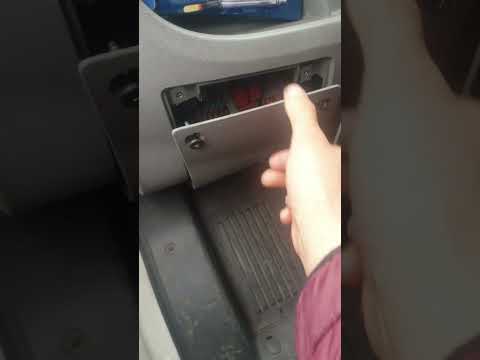
The EOBD (European On Board Diagnostic) port is the means by which the ECU of your Fiat Ducato communicates with mechanics when they read the error codes that accumulate over time. Naturally, fault codes are encoded in alphanumeric codes, and a decoding method is necessary. Mechanics use a tool called a testbook, but DIY enthusiasts can also read the error codes from the ECU with a device that can be found on any e-commerce platform for just a few pounds. Connect it to the EOBD port to see what has happened to your Ducato. First, locate the socket, which is on the right side of the steering column, behind a small, easily accessible cover: it is protected by a cap. To decode the codes you read, simply download a suitable app on your mobile phone.
Updated on 4 July 2026 by ScegliAuto
Video tutorial
Related tutorials
Fiat Ducato
(1993-2016 /
MK 2)
In this video, we can see where the EOBD (European On Board Diagnostic) port is located on the Fiat Ducato MK2, limited to vehicles built between 199…
Fiat Ducato
(2006-2014 /
X250)
The Fiat Ducato campers also feature a diagnostic port, commonly known as the OBD port. On Fiat Ducato models produced from 2006 to 2014, the OBD por…

Fiat Ducato
(1993-2016 /
MK 2)
The OBD port is installed inside the Fiat Ducato, produced from 2002 to 2006, inside the cabin. Specifically, the port is located on the lower part o…
Other guides you may be interested in |
Frequently Asked QuestionsHow to Replace the Diesel Filter of the Peugeot 3008 1.5 BlueHDI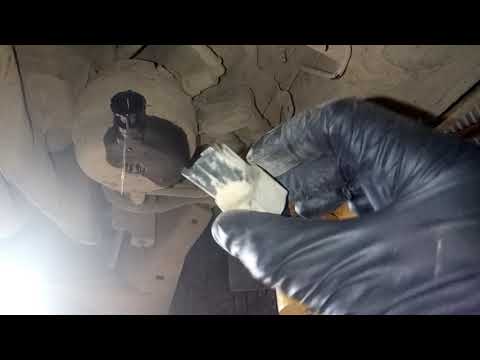
Briefly, we will see the main instructions for dismantling and replacing the diesel filter of the Peugeot 3008 1.5 BlueHDI. First, locate the diesel filter under the vehicle, so it will be necessary to lift it; then disconnect the electrical connector and the fuel lines from the filter, unscrewing the side screws to remove the cartridge, as shown in the video. At this point, replace the diesel filter with the new one, as well as with the original one; then reconnect the pipes and the electrical connector, following the video tutorial to the end! by ScegliAuto More videos
|
|
For advertising on this site Write to info@scegliauto.com
ScegliAuto is not responsible for any inaccuracy of the data in the lists. To report any inaccuracy or your business (if you own the business in question), please write to info@scegliauto.com
Number of seconds to generate the page: 0.431
(c) ScegliAuto 2026 - info@scegliauto.com - Privacy policy VAT number: IT01247470535 |
