
|
Do it yourself
| |||
| ||||


How to Replace the Fuel Filter Cartridge on a Ford Kuga MK2
Model: Ford Kuga
C520, MK 2
- Years 2012-2019
The fuel filter on a Ford Kuga MK2 is enclosed in a metal capsule (under the engine, left side). Use a 10 mm spanner to unscrew the nuts securing the protective capsule, and a 13 mm spanner for the side nut to remove the metal capsule. Place a cloth underneath to catch any diesel spills and disconnect the hoses: for the first, lift the safety tab and then push the hose forward; for the second, press the lower button with a small screwdriver to lever it off. Open the filter cap with a 24 mm spanner counterclockwise and extract the dirty cartridge. Clean the inside of the container thoroughly, insert the new cartridge, replace the seal, screw the cap on with the 24 mm spanner clockwise, reconnect the two hoses, which should click into place, and before starting the engine, bleed the air by turning the ignition to 'on' for a few seconds. Repeat this 3 to 4 times and then start the engine. It is a good idea to add an additive, especially if the old filter was very dirty.
Posted on 9 May 2026 by ScegliAuto
Video tutorial
Related tutorials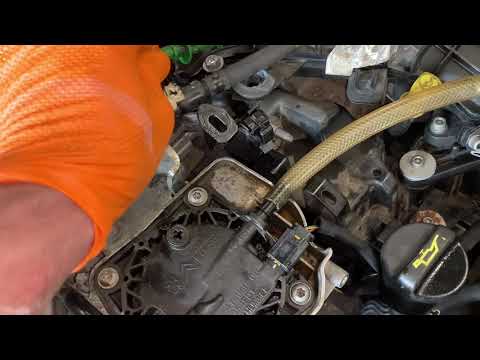
Ford Kuga
(2012-2019 /
C520, MK 2)
This guide demonstrates how to replace the fuel filter and bleed the system on a Ford Kuga Mk2 with a 2.0 engine. The first step is to access the eng…
Ford Kuga
(2012-2019 /
C520, MK 2)
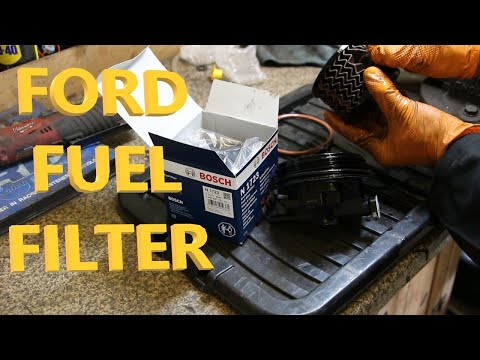
This guide shows how to replace the fuel filter on a Ford Kuga 2.0 TDCi. To perform this operation, you need to remove the plastic engine cover. The …
Ford Kuga
(2012-2019 /
C520, MK 2)
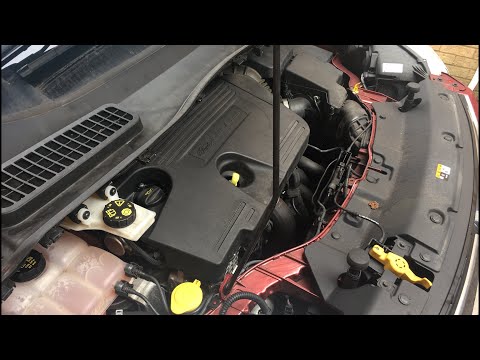
The fuel filter is located in the engine bay: to access it, first remove the plastic cover positioned above the engine by lifting it firmly but gentl…
Other guides you may be interested in
|
Frequently Asked QuestionsHow to Check the Oil Level on a Jeep Renegade?
To check the oil level on a Jeep Renegade, you need to open the bonnet to access the components inside the engine bay: on the lower left side of the engine block, you will find the dipstick for checking the level. This should be pulled out and thoroughly cleaned with a cloth: once cleaned, reinsert it back into its tube and pull it out immediately after. This way, you can check that the oil mark is between the minimum and maximum levels; finally, you can place the dipstick back in its tube. by ScegliAuto More videos
|

|
For advertising on this site Write to info@scegliauto.com
ScegliAuto is not responsible for any inaccuracy of the data in the lists. To report any inaccuracy or your business (if you own the business in question), please write to info@scegliauto.com
Number of seconds to generate the page: 0.841
(c) ScegliAuto 2026 - info@scegliauto.com - Privacy policy VAT number: IT01247470535 |
