
|
Do it yourself
| |||
| ||||


How to Change the Brake Disc on a Ford Transit
Model: Ford Transit
MK 7
- Years:
2006, 2007, 2008, 2009, 2010, 2011, 2012, 2013, 2014
Video tutorial
Change the brake disc on the Transit if you see signs of wear. Here’s how to remove the disc. Lift the Transit to a comfortable height for working. Undo the bolts using a telescopic spanner, then remove the wheel. Start by undoing the bolts of the brake caliper to detach it from the bracket. Use a screwdriver to detach the brake pads, remove the caliper bracket, and undo the bolts on the brake disc. Once all bolts are undone, pull the disc towards you to slide it off the wheel hub. Fit the new brake disc with all the associated bolts, tighten the caliper bracket to the disc and the pads, then mount the brake caliper, ensuring all bolts are tightened properly. Bleed the brake caliper using the brake pedal. Test the braking of the new disc.
Updated on 29 March 2026 by ScegliAuto
Related tutorials
Ford Transit
(2006-2014 /
MK 7)
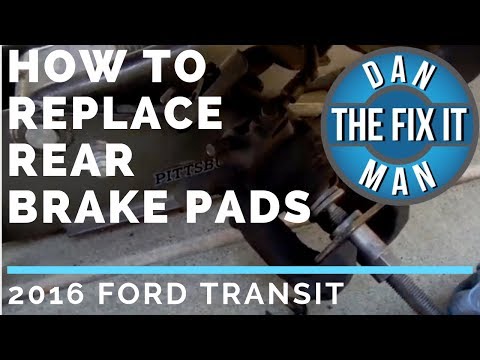
Learn how to change the rear brake disc along with the brake pads on a Ford Transit. First, lift the vehicle on a column jack to the desired height, …
Ford Transit
(2014-2024 /
MK 8)
Are the rear brake pads on your Ford Transit worn? Here’s how to remove them. Lift the vehicle on a column lift to the desired height, then remove th…

Ford Transit
(2012-2024 /
Custom)
It will be possible to replace the rear brake disc of the Ford Transit by lifting the vehicle from the ground using a jack or a bridge: once the vehi…
Other guides you may be interested in
|
How to Set the Time in an Audi A4?
In this tutorial, you will see how to set the time in an Audi A4, a very simple and quick operation to perform after replacing the battery or when the time changes. First, insert the key and turn on the instrument cluster. Then, press the "SETUP" button located on the center console. Next, press the upper left arrow button, navigate to the "Time" option, and use the central knob to adjust the clock. Finally, set any necessary formats and save by returning to the main screen. by ScegliAuto More videos
|
|
For advertising on this site Write to info@scegliauto.com
ScegliAuto is not responsible for any inaccuracy of the data in the lists. To report any inaccuracy or your business (if you own the business in question), please write to info@scegliauto.com
Number of seconds to generate the page: 0.036
(c) ScegliAuto 2026 - info@scegliauto.com - Privacy policy VAT number: IT01247470535 |
