
|
Do it yourself
| |||
| ||||


Starter Motor Function Check
Model: Ford Transit
MK 7
- Years 2006-2014
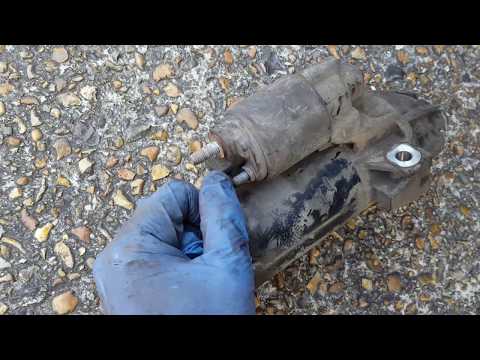
Once the starter motor is disassembled, checking its operation on the bench is very simple: just secure it in a vice and have a charged battery available to power it. Connect the earth to the motor casing or the vice, and with the positive clamp, bridge the fixed positive terminal and the +50 terminal: you will see the pinion extend and then rotate. If you notice that the extension and/or rotation of the pinion are a bit too slow, it is advisable to disassemble the motor to inspect the wear condition of the brushes and commutator: in this case, the brushes are completely worn; it is still possible to purchase this type of spare part for DIY refurbishment. In addition to replacing the brushes, it is advisable to clean the commutator, performing the so-called undercutting (cleaning between the segments and turning). Once the motor is reassembled, repeat the operation test: you will certainly notice a more responsive and explosive reaction.
Updated on 12 February 2026 by ScegliAuto
Video tutorial
Related tutorials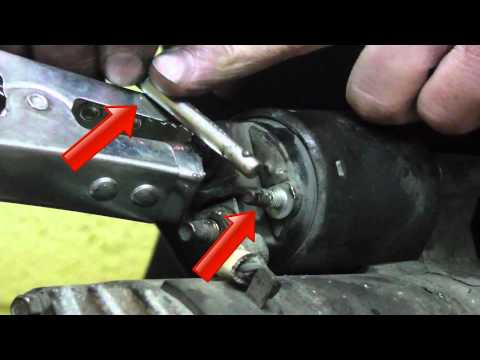
Ford Transit
(2006-2014 /
MK 7)
At the first sign of trouble, it is better to change the starter motor rather than wait for it to fail completely, as a faulty starter motor usually …
Ford Transit
(2006-2014 /
MK 7)
Is the starter motor damaged? Here’s how to remove the starter motor on Ford Transit. Open the bonnet, remove the engine soundproofing panel. Disconn…
Ford Transit
(2006-2014 /
MK 7)
To be able to replace the starter motor of the Ford Transit you need to access the lower part of the engine compartment: here, immediately next to th…
Other guides you may be interested in
|
Frequently Asked QuestionsHow to Remove the Front Brake Rotor on a BMW X3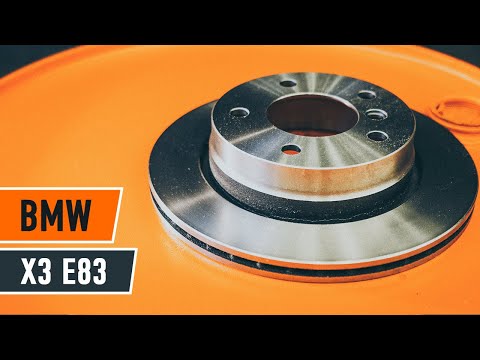
Let's see how to remove the front brake rotor on a BMW X3. Position your car on a column lift and raise it to a comfortable height for working. Loosen the bolts with a socket wrench or air drill and remove the wheel, then start loosening the bolts of the brake caliper to detach it from the bracket, using a screwdriver to remove the brake pads. Now remove the caliper bracket and loosen the bolts on the brake rotor (using a Torx screwdriver), pull the rotor towards you to slide it off the wheel hub. Install the new brake rotor with all the associated bolts, tighten the caliper bracket to the rotor and the brake pads, then install the brake caliper, making sure to tighten all the bolts securely. Before mounting the wheel, bleed the brake caliper and then tighten the bolt. Finally, install the wheel with the bolts. by ScegliAuto More videos
|
|
For advertising on this site Write to info@scegliauto.com
ScegliAuto is not responsible for any inaccuracy of the data in the lists. To report any inaccuracy or your business (if you own the business in question), please write to info@scegliauto.com
Number of seconds to generate the page: 0.120
(c) ScegliAuto 2026 - info@scegliauto.com - Privacy policy VAT number: IT01247470535 |