
|
Do it yourself
| |||
| ||||


How to soundproof the hood of the Geely Binyue / Coolray
Model: Geely Binyue
MK 1
- Years 2018-2025
The hood of the Geely Binyue / Coolray already has a soundproofing panel. But if we want to increase our comfort level, we can do it very easily. You will only need adhesive profile rubber, adhesive insulating material, and alcohol for the preventive cleaning of the surfaces. All material that can be easily found on e-commerce platforms for a few euros. We remove the hood panel, carefully clean the parts we wish to cover, and take the measurements carefully. We cut out the measurements on our soundproofing material and apply. Then we will cover everything again with its panel. We will apply the profile adhesive rubber on the bonnet stop making it adhere well and the game will be done. From inside we will no longer hear any noise.
Posted on 26 August 2022 by ScegliAuto
Video tutorial
Related tutorials
Geely Binyue
(2018-2025 /
MK 1)
Let's see in this guide the instructions that will allow us to change the color of the interior lights of the Geely Binyue, in simple and quick steps…
Geely Binyue
(2018-2025 /
MK 1)
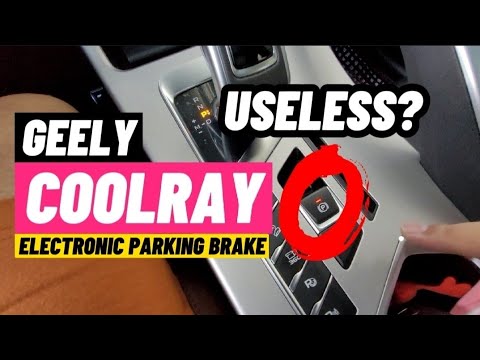
In order to engage the handbrake of the Geely Binyue you must first move the gear selector, so that it is placed in position N or P. Once you have mo…

Geely Binyue
(2018-2025 /
MK 1)
For once, it is not the users who give advice, but the car itself advises to save fuel. These are tips that to us Europeans may seem obvious, but as …
Other guides you may be interested in
|
Removing and Replacing a Front Headlamp of a Lancia Lybra
This video explains how to remove and replace the front headlamp and its bulbs on a Lancia Lybra. The car has a very simple and quick headlamp removal system. To start, lift the bonnet, reach into the engine bay, and (specifically at the rear of the headlamp) unclip the metal tab that secures the headlamp, then use a screwdriver to undo the few Torx screws. After removing the screws, unclip the headlamp and pull it out from the bumper, disconnect the power connectors, and replace any damaged bulbs or the entire unit. The reassembly phase is very straightforward: insert the headlamp into the bumper housing as shown in the video, secure the metal tab until the headlamp clicks into place (screw in the securing screws). Finally, test the correct operation of the lights. by ScegliAuto More videos
|

|
For advertising on this site Write to info@scegliauto.com
ScegliAuto is not responsible for any inaccuracy of the data in the lists. To report any inaccuracy or your business (if you own the business in question), please write to info@scegliauto.com
Number of seconds to generate the page: 0.057
(c) ScegliAuto 2026 - info@scegliauto.com - Privacy policy VAT number: IT01247470535 |