
|
Do it yourself
| |||
| ||||


Demonstration of Car Radio Removal
Model: Honda CR-V
MK 1
- Years 1995-2001
To remove the car radio, you must take off the panel under the steering wheel by first unscrewing the two screws and then freeing it from the clips. Now remove the clips and the corresponding panel at the base of the centre console. Unscrew the screws with the glove compartment open (two on each side plus two in the centre). Close the glove compartment and unscrew the four screws underneath it and remove it. Now detach the two retaining brackets and remove the glove compartment on the passenger side. Unscrew the screws on the left side of the drawer. Remove the ashtray and unscrew the screws found at the bottom of its housing. The last screw will also remove the guide of the ashtray. At this point, unclip the shaped panel that goes from the ignition switch to the glove compartment on the passenger side, disconnecting the electrical connections as well. Unscrew the two screws, one on each side, next to the radio. Now extract the radio and climate control unit, disconnecting the electrical connections of the climate control and those of the radio. To finally remove the radio, simply unscrew the four screws, two on each side of the support frame, and extract the radio. Car model: Honda CRV Year: 1997.
Updated on 10 February 2026 by ScegliAuto
Video tutorial
Related tutorials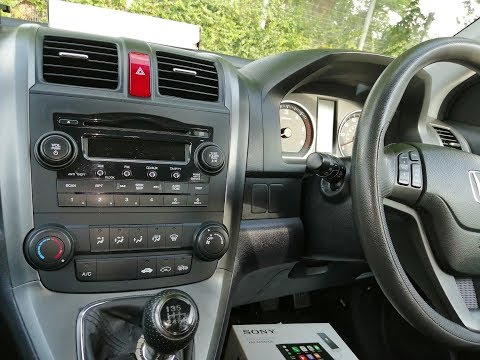
Honda CR-V
(2007-2012 /
MK 3)
Before starting, sit in the driver's seat of your Honda CR-V. Begin by prying and removing the climate control buttons and the upper air vents using …
Honda CR-V
(2002-2007 /
MK 2)
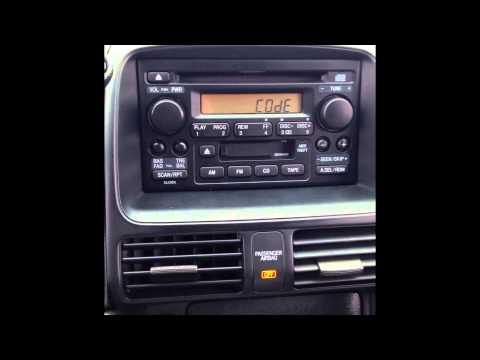
Follow this procedure to reset the car radio: enter the cabin and sit in the driver's seat, turn on the radio, and it will display "code". Next, turn…
Honda CR-V
(2002-2007 /
MK 2)
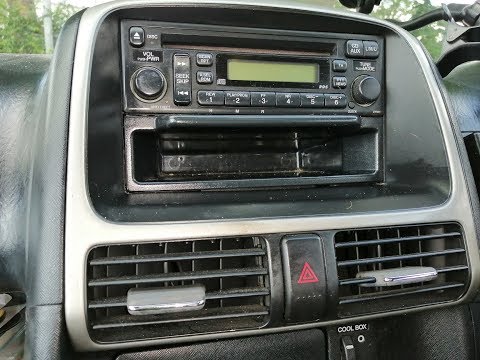
In today's video, see how to replace the radio in the Honda CR-V. Unscrew the two screws holding the plastic trim in place. You can now unclip it and…
Other guides you may be interested in
|
How to Connect the Cables to the Battery of the Citroen Xsara Picasso?
In this tutorial, you will see how to connect the cables to the battery of the Citroen Xsara Picasso, useful if you need to recharge it or perform an emergency start. First, ensure the key is not inserted, then open the bonnet and move to the front of the left headlamp. Next, locate the bolt just behind the filter box and connect the positive terminal clamp to it. Now you can connect the negative terminal to any point on the chassis, such as the indicated point. Once the operation is complete, ensure you disconnect the negative first and then the positive. by ScegliAuto More videos
|
|
For advertising on this site Write to info@scegliauto.com
ScegliAuto is not responsible for any inaccuracy of the data in the lists. To report any inaccuracy or your business (if you own the business in question), please write to info@scegliauto.com
Number of seconds to generate the page: 0.079
(c) ScegliAuto 2026 - info@scegliauto.com - Privacy policy VAT number: IT01247470535 |
