
|
Do it yourself
| |||
| ||||


Honda Brio - Video tutorial
Model: Honda Brio
MK 2
- Years 2018-2024 Let's see how to install a digital OBD2 gauge that will provide us with a lot of useful information about our vehicle, which the normal onboard instrumentation does not provide, in addition to being visually very pleasing: by pressing the menu button, we let the interface screen change. By toggling the right and left buttons, we can change the secondary display. By pressing and holding the menu button, we will return to the settings menu. Here we can change the units of measurement, language, alarm levels, colors, etc. We can choose how to view the values while driving at night. During the day, the display is very vibrant and can be read accurately. At night, the display is bright but not as prominent. The only problem is that the support is adhesive. Let's see how to install it. Remove the panel under the steering wheel to easily pass the cable that connects the digital gauge to the OBD port and hide the cable in the pillars. At this point, all that remains is to connect the cable to the OBD port and the game is done. We can choose what we are most interested in seeing on our digital gauge and have fun setting it up. This same device is the Shkalacar Car HUD display, and it costs 55.99 euros on Amazon.
Posted on 30 June 2023 by ScegliAuto
This video is currently unavailable
Other guides that may interest you
|
How to set the time on the Peugeot 308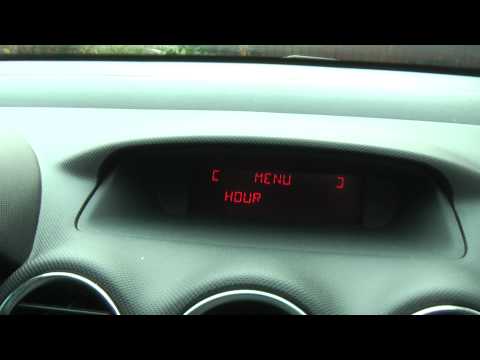
If we need to change the time on this car we can follow the instructions given in this video tutorial and read the instructions below. First of all, access the driver's seat and turn on the ignition. On the right multifunction lever there are the controls with the arrows to scroll the various menu functions and scroll the various functions up to "display adjust", after which press the button behind the lever to change the time, once set the new value press again the key with the arrow indication and modify the minutes in this way the work will be completed. by ScegliAuto More videos
|
|
For advertising on this site Write to info@scegliauto.com
ScegliAuto is not responsible for any inaccuracy of the data in the lists. To report any inaccuracy or your business (if you own the business in question), please write to info@scegliauto.com
Number of seconds to generate the page: 0.014
(c) ScegliAuto 2024 - info@scegliauto.com - Privacy Policy VAT number: IT01247470535 |