
|
Do it yourself
| |||
| ||||



How to Replace the Rear Shock Absorbers on the Hyundai i30
Model: Hyundai I30
MK 1, FD
- Years:
2007, 2008, 2009, 2010, 2011, 2012
Video tutorial
On the Hyundai i30, the work on the rear shock absorbers begins by securing the vehicle and lifting the rear with a jack. The video clearly shows the car raised and the area of the rear wheel arch with the wheel removed, providing direct access to the suspension. At this point, work on the shock absorber: the first step shown is loosening the lower fixing, with a close-up on the bolt as it is loosened. Once the lower part is free, move to the upper side: the video also covers the area of the upper shock absorber mount, allowing the old part to be removed without forcing. After removing the shock absorber, the new replacement is shown on the bench, highlighting how the upper mount is constructed. The installation on the Hyundai i30 follows the natural order: reposition the shock absorber, reattach it first 'in place', and then replace the fixings, realigning the holes until the bolt fits correctly. With the rear shock absorber reinstalled, put the wheel back on the Hyundai i30 and lower the car, finishing the job with a final check of the fixings.
Posted on 11 August 2026 by ScegliAuto
Related tutorials
Hyundai I30
(2007-2012 /
MK 1, FD)
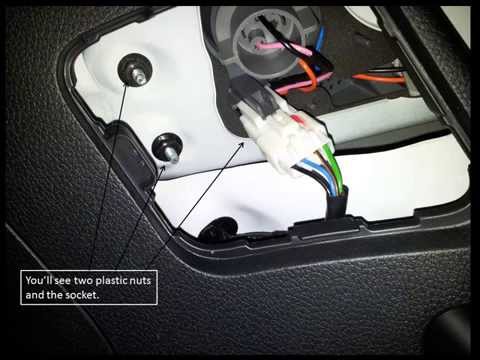
Following these brief steps, we will see how to disassemble and replace the rear bumper of the Hyundai I30. First, open the rear hatch of the trunk a…
Hyundai I30
(2011-2016 /
GD, MK 2)
Want to remove the rear light from your car? Let's see how to remove the light on a Hyundai i30. Open and lift the boot lid, unscrew the securing scr…
Hyundai I30
(2007-2012 /
MK 1, FD)
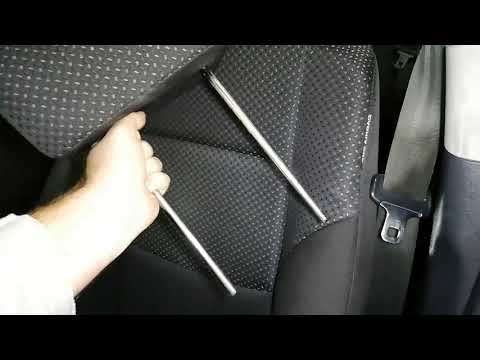
In this brief video, you will learn how to remove the front headrest, as well as the rear ones, on the first series Hyundai I30, following the instru…
Other guides you may be interested in |
How to Change the Time on the Peugeot 208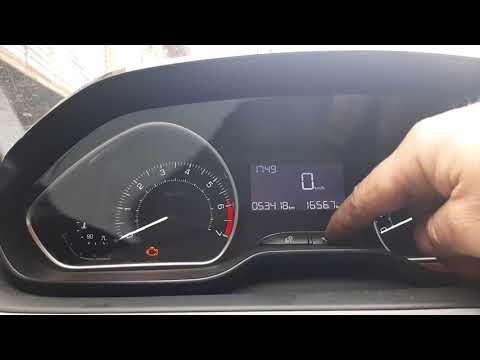
Today's guide will show you how to set the clock on the Peugeot 208's onboard computer, following the instructions below. First, get in the car and turn on the instrument panel; then press and hold the settings button on the panel for a few seconds until the time starts to flash, as shown in the video. At this point, press the left button to correctly set the time, adjusting the hour first and then the minutes; exit the onboard computer menu to save all the changes made! by ScegliAuto More videos
|
|
For advertising on this site Write to info@scegliauto.com
ScegliAuto is not responsible for any inaccuracy of the data in the lists. To report any inaccuracy or your business (if you own the business in question), please write to info@scegliauto.com
Number of seconds to generate the page: 0.019
(c) ScegliAuto 2026 - info@scegliauto.com - Privacy policy VAT number: IT01247470535 |
