
|
Do it yourself
| |||
| ||||


Replacement of Front Brake Discs and Pads
Model: Hyundai Santa Fe
MK 1
- Years 2000-2006
Dirt infiltration between the pads and discs can irreparably damage them, so replacement is necessary. Remove the brake caliper using a ratchet spanner by unscrewing the two rear bolts. Dismantle the caliper bracket in the same manner. Using a crosshead screwdriver, unscrew the two retaining screws of the disc while holding it steady. If the disc is stuck, use a rubber mallet and tap it until it completely comes off the hub. Clean the bracket thoroughly from debris using a deoxidising spray. Clean the new discs before installation to remove the protective grease. Apply copper grease around the disc bracket to prevent seizing due to oxidation or rust. Refit the disc, aligning the fixing holes. For securing the bracket and caliper, use new screws if possible; otherwise, clean and lubricate the old ones. Use a wire brush to remove most of the accumulated dirt. Reposition the piston to the start position and fit the new pads. Reattach the caliper and the wheel.
Updated on 4 February 2026 by ScegliAuto
Video tutorial
Related tutorials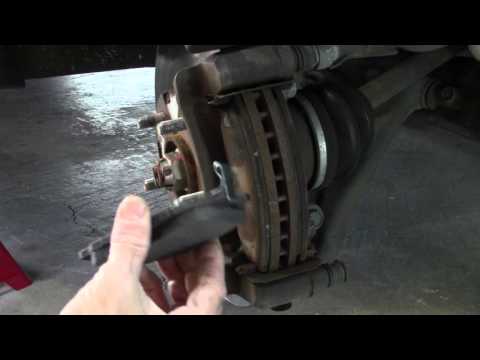
Hyundai Santa Fe
(2000-2006 /
MK 1)
Need to replace the front brake pads? Here’s how to do it on a Hyundai Santa Fe. Lift the vehicle on a column lift to the desired height, remove the …
Hyundai Santa Fe
(2000-2006 /
MK 1)
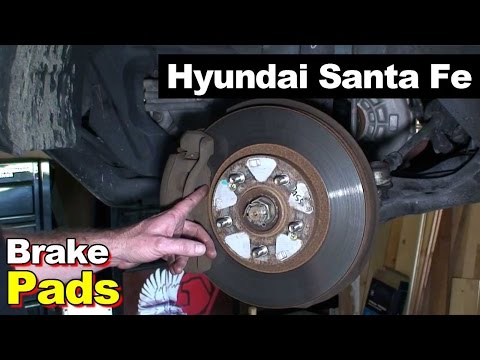
Lifting the vehicle for the replacement of the brake pads will make the operation much simpler and more comfortable to perform; once lifted, remove t…
Hyundai Santa Fe
(2000-2006 /
MK 1)
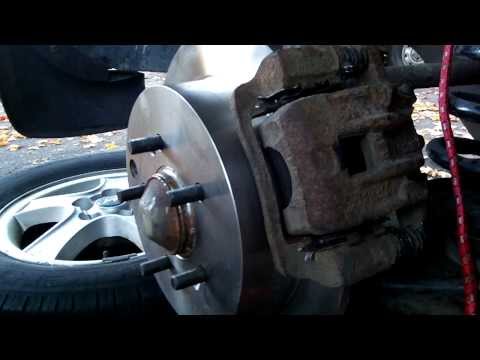
Lift the vehicle on suitable car stands and remove the wheel. Then unscrew the fixing screws of the disc to the hub and, before removing it, dismantl…
Other guides you may be interested in
|
How to Reset the Tyre Pressure Light on the Opel Grandland X
While driving, if you notice the tyre pressure warning light coming on, first check the actual inflation pressure of the tyres and, if necessary, restore the pressures recommended by the manufacturer. After restoring the correct pressures, you need to reset the warning light that has illuminated on the instrument cluster. To do this, locate the reset button on the lower central console. Press this button and hold it down for at least 3 seconds, after which the low pressure indication will turn off. by ScegliAuto More videos
|
|
For advertising on this site Write to info@scegliauto.com
ScegliAuto is not responsible for any inaccuracy of the data in the lists. To report any inaccuracy or your business (if you own the business in question), please write to info@scegliauto.com
Number of seconds to generate the page: 0.374
(c) ScegliAuto 2026 - info@scegliauto.com - Privacy policy VAT number: IT01247470535 |
