
|
Do it yourself
| |||
| ||||


How to Replace the Screen of a Jeep Renegade
Model: Jeep Renegade
- Years 2014-2021
To remove the screen of a Jeep Renegade, you need a thin, sturdy tool, a flat screwdriver, and a star screwdriver. Carefully remove the plastic mask to avoid breaking it and leaving marks on the edge. Once removed, you will see the four tabs used to reattach the mask. Now unscrew the four screws located externally at the corners of the radio and pull it out from its location. Remove the grey, yellow, and white connectors by applying slight pressure. Next, remove the black connector by pressing the tab until you hear a click. Once this process is complete, you can proceed to install the new screen by reconnecting all the internal connectors, securing the screws, and reinserting the plastic mask.
Updated on 28 May 2026 by ScegliAuto
Video tutorial
Related tutorials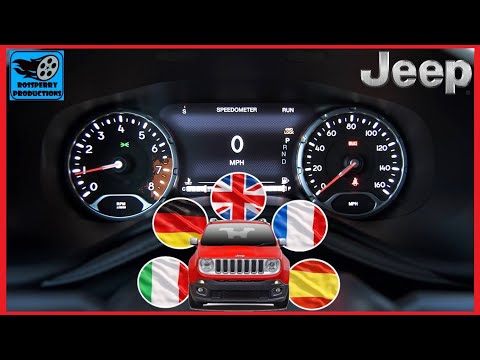
Jeep Renegade
(2014-2026 /
520, MK 1, BU)
In this video, you will see how to reset the language on the instrument cluster of the Jeep Renegade: all messages are displayed in Italian on the dr…
Jeep Renegade
(2014-2026 /
520, MK 1, BU)
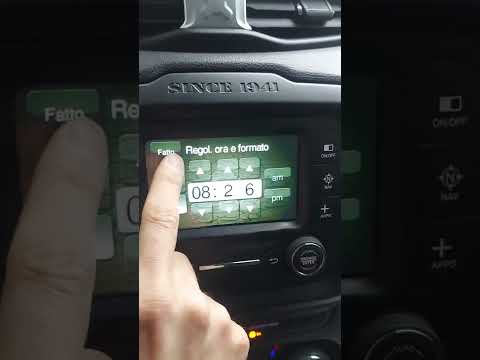
If you want to manually change the time displayed on the system of your 2016 Jeep Renegade, simply follow the instructions below and put them into pr…

Jeep Renegade
(2014-2024 /
)
On the Jeep Renegade, resetting the TPMS is done after adjusting the pressures according to the chart on the door pillar. With the Jeep Renegade stat…
Other guides you may be interested in
|
Frequently Asked QuestionsWhere is the Fuel Filter Located in a Volvo XC60?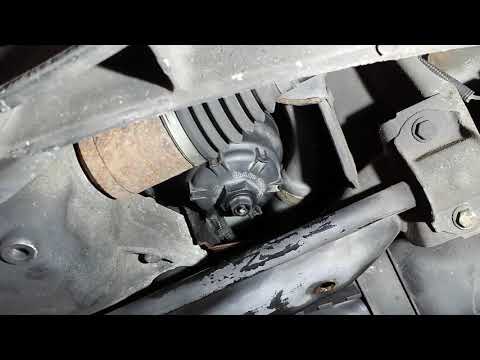
In this video, you will see where the fuel filter is located in a Volvo XC60 and how to proceed if you need to replace it. As shown, the filter is positioned at the lower part of the engine, right between the left half-shaft and the sway bar attachment. To replace the filter, first, go underneath the vehicle, taking all necessary safety precautions. Then, using an 18mm wrench, open the drain valve and allow any water present to escape. Next, unscrew the housing, remove the old filter, insert the replacement along with a new gasket, and reassemble everything. by ScegliAuto More videos
|

|
For advertising on this site Write to info@scegliauto.com
ScegliAuto is not responsible for any inaccuracy of the data in the lists. To report any inaccuracy or your business (if you own the business in question), please write to info@scegliauto.com
Number of seconds to generate the page: 0.057
(c) ScegliAuto 2026 - info@scegliauto.com - Privacy policy VAT number: IT01247470535 |
