
|
Do it yourself
| |||
| ||||



TPMS: How to Reset the Tyre Pressure Sensor on the Jeep Renegade
Model: Jeep Renegade
- Years:
2014, 2015, 2016, 2017, 2018, 2019, 2020, 2021, 2022, 2023, 2024
Video tutorial
On the Jeep Renegade, resetting the TPMS is done after adjusting the pressures according to the chart on the door pillar. With the Jeep Renegade stationary and the engine off, turn the ignition to ON. Use the steering wheel controls to open the settings menu of the Jeep Renegade and navigate to the maintenance/TPMS section: select Reset/Calibrate Tyre Pressure and confirm the reset of the message. Turn off and then turn on the ignition of the Jeep Renegade to check that the warning has disappeared; complete the calibration with a short drive at a constant speed to allow the system to update the values. If you cannot find the reset option on your Jeep Renegade, the system will automatically recalculate after a few minutes of driving with correct pressures (a solution provided on various trims): in this case, ensure that the warning light turns off by itself after the drive.
Posted on 25 June 2026 by ScegliAuto
Related tutorials
Jeep Renegade
(2014-2026 /
520, MK 1, BU)
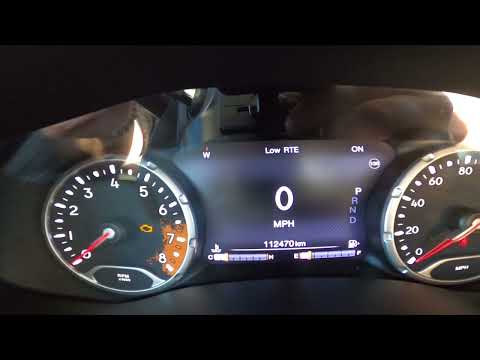
The tire pressure warning light, also known as the TPMS light, monitors the pressure of the tires on the road; in case the light activates on the car…
Jeep Renegade
(2014-2026 /
520, MK 1, BU)
Follow these steps to reset the tyre pressure light on the Jeep Renegade; before performing the reset, ensure that all four tyres are at the correct …

Jeep Renegade
(2014-2021 /
)
The tyre pressure monitoring system of a Jeep Renegade monitors tyre pressure. If the TPMS warning light appears on the vehicle display, it means you…
Other guides you may be interested in
|
How to Set the Date and Time on the Iveco Daily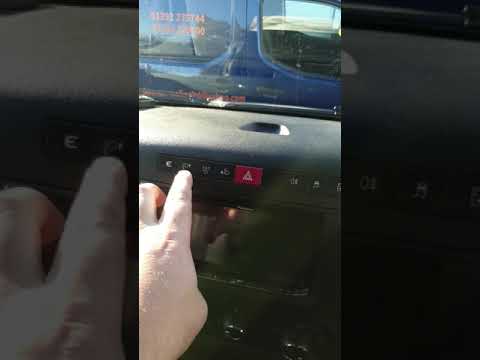
Today, we will see in this video tutorial how to change the date and time on the Iveco Daily. First, get into the vehicle and turn on the instrument panel; then go to the vehicle settings on the central display, pressing the relevant option for date and time. At this point, press the "set" button located at the top, using the physical arrow buttons to set both the date and time; finally, exit the onboard computer menu to save the changes made! by ScegliAuto More videos
|
|
For advertising on this site Write to info@scegliauto.com
ScegliAuto is not responsible for any inaccuracy of the data in the lists. To report any inaccuracy or your business (if you own the business in question), please write to info@scegliauto.com
Number of seconds to generate the page: 0.028
(c) ScegliAuto 2026 - info@scegliauto.com - Privacy policy VAT number: IT01247470535 |
