
|
Do it yourself
| |||
| ||||


|
Model: Kawasaki Ninja 1000
To replace the fuel tank of the Kawasaki Ninja 1000SX, first remove the seat by loosening the screws that secure it. Once removed, proceed to loosen the screws that secure the side fairing panels located under the tank. This will allow you to loosen and completely remove the screws that secure the tank to its mounts. Disconnect the cables and hoses located at the bottom of the tank to remove it and insert the new replacement.
Posted on 30 March 2026 by ScegliAuto
Video tutorial
Related tutorials
Ninja 1000
These short and simple steps will show us how to disassemble and replace the air filter of the engine of the Kawasaki Ninja 1000 motorcycle. First, w…
Ninja 1000
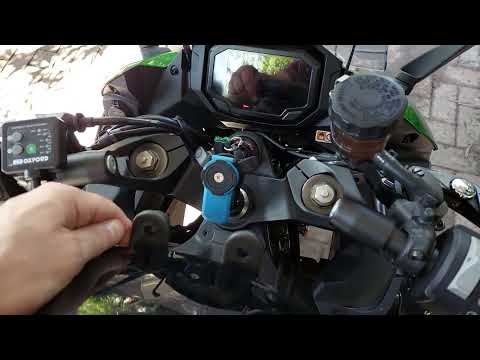
In this tutorial, you will see how to replace the air filter on the Kawasaki Ninja 1000 SX, a very simple and quick operation. First, remove the seat…

Ninja 1000
Replacing the front headlamp bulbs on the Kawasaki Ninja, as shown in this tutorial, is an extremely simple and quick operation. First, ensure that t…
|
How to Service the Beta RR 350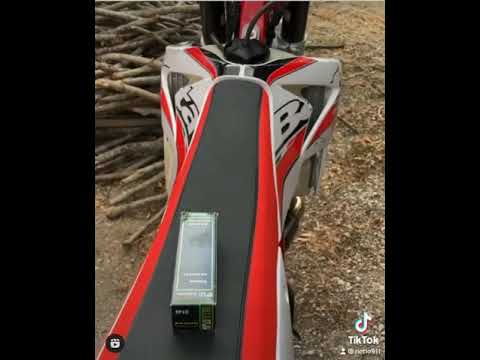
This video will illustrate the steps to perform the routine maintenance service, replacing the engine oil and oil filter on the Beta RR 350 enduro bike. First, place the bike on a stand and start by loosening the oil drain bolt located under the engine, allowing it to drain into a container for about ten minutes; then clean the small oil filter (replacing it with a new one if too dirty). Finally, top up with new oil, of the correct type for your engine, filling to the maximum level! by ScegliAuto More videos
|
|
For advertising on this site Write to info@scegliauto.com
ScegliAuto is not responsible for any inaccuracy of the data in the lists. To report any inaccuracy or your business (if you own the business in question), please write to info@scegliauto.com
Number of seconds to generate the page: 0.007
(c) ScegliAuto 2026 - info@scegliauto.com - Privacy policy VAT number: IT01247470535 |
