
|
Do it yourself
| |||
| ||||


Model: Keeway Rkf 125
This guide shows how to install additional lights on the Keeway RKF 125. This operation may void the vehicle's warranty. After removing the motorcycle seat, you need to take off the front fairings; to do this, remove the side panel on the working side using the two 4 mm hex screws and the cross-head screw located under the seat. The fairing can be removed after unscrewing the fixing screws. From inside the fairing, you can unscrew the three fixing screws to expose the light housing. By drilling a hole in the bottom of the housing, you can pass the LED strip through and position it so that it stays secure in the housing. Refit the fairing in position and connect the LEDs to the battery.
Updated on 23 April 2026 by ScegliAuto
Video tutorial
Related tutorials
Rkf 125
Below are the steps to install the USB socket on the Keeway RKF 125 motorcycle. First, place your motorcycle on its stand and begin by removing the s…

Rkf 125
This guide provides the main instructions for installing the side LEDs on the Keeway RKF 125 motorcycle. First, place your motorcycle on a stand and …

Rkf 125
In order to replace the rearview mirrors of the Keeway RKF 125, you need to grab the old ones, so that you can rotate them counterclockwise to remove…
|
How to Replace the Brake Lever of the Honda SH 125i?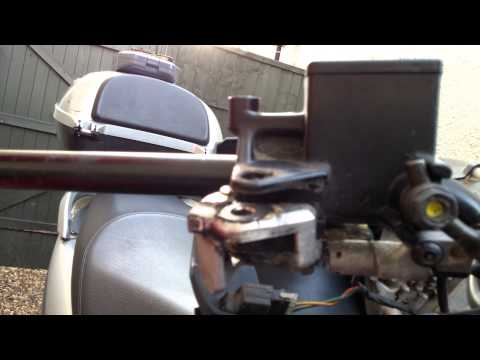
To replace the brake lever of the Honda SH 125i, access the nut located at the bottom of the lever, where it is fixed to the handlebar. This nut needs to be loosened to remove the bolt it is attached to: by removing this bolt, you will be able to free the lever and remove it completely. Once the old lever is removed, insert the new one, securing it in place by inserting the bolt and the corresponding nut; then check that the brake functions correctly. by ScegliAuto More videos
|
|
For advertising on this site Write to info@scegliauto.com
ScegliAuto is not responsible for any inaccuracy of the data in the lists. To report any inaccuracy or your business (if you own the business in question), please write to info@scegliauto.com
Number of seconds to generate the page: 0.948
(c) ScegliAuto 2026 - info@scegliauto.com - Privacy policy VAT number: IT01247470535 |
