
|
Do it yourself
| |||
| ||||



How to replace the diesel fuel filter of the Kia Rio yourself.
Model: Kia Rio
MK 4, SC, YB
- Years:
2016, 2017, 2018, 2019, 2020, 2021, 2022, 2023
Video tutorial
On the Kia Rio, the replacement of the diesel filter is performed by working on the filter holder assembly and its connections. Before starting, allow the engine to cool down, work in a well-ventilated area, and have rags and a container ready for any diesel drips. Avoid open flames and sparks, and use gloves and protective eyewear. Open the hood and locate the fuel filter assembly. Clean the area around the connections and the filter holder to reduce the risk of dirt or debris entering the circuit. If there are connectors or sensors on the filter assembly, disconnect them carefully without pulling on the wires. Next, move on to the fuel lines: release the locks on the connections and disconnect the lines one at a time, keeping a cloth underneath and protecting the ends to limit the entry of impurities. At this point, open the filter holder (depending on the version, there may be a cover or a bowl) and remove the worn filter element. Check the condition of the seals and O-rings: if the filter kit includes new seals, replace them and lightly lubricate them with a thin layer of clean diesel before reassembly, so they fit better and reduce the risk of leaks. Insert the new filter into the housing, ensuring it is properly seated and that the seals are in place, then carefully close the filter holder. Reconnect the fuel lines, making sure the connections click into place and that the locks are securely fastened. Reattach any connectors or sensors and tidy up the wiring and supports. If your version requires priming the circuit after replacement, do so according to the configuration on the vehicle (for example, where applicable, using a manual pump or through key/start cycles), then start the engine and let it run for the necessary time to stabilize the idle. With the engine running, carefully check the area around the filter and connections: there should be no leaks or strong diesel odor. If you notice any seepage, turn off the engine immediately, dry the area, and check that the seals and connections are properly seated.
Posted on 6 January 2026 by ScegliAuto
Related tutorials
Kia Rio
(2011-2017 /
UB, MK 3)
If you intend to replace the cabin air filter on your Kia Rio third generation yourself, follow the steps described below. First, ensure you have a n…

Kia Rio
(2011-2017 /
UB, MK 3)
If you own a third-generation Kia Rio (2011-2017) and want to replace the engine air filter, simply follow these steps. First, ensure that the car is…
Kia Rio
(2016-2023 /
MK 4, SC, YB)
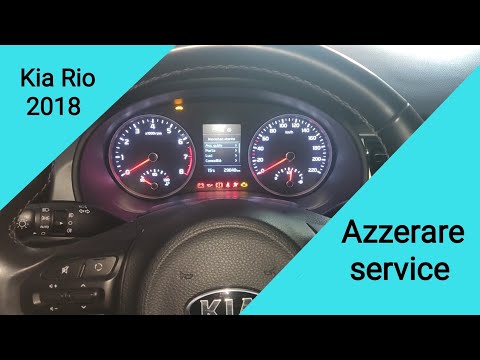
In this guide, you will learn how to correctly manually reset the service light on your Kia Rio 2018. First, turn on the ignition and enter the vehic…
Other guides you may be interested in
|
How to Replace the Glow Plugs in the Fiat Ducato 2.3 Multijet?
Glow plugs, as the name suggests, raise the temperature of the engine in diesel vehicles to allow for easier starting. The manufacturer, in this case, Fiat for the Ducato 2.3 Multijet, specifies how often they should be replaced, and a warning light will illuminate when it's time. This work is carried out under the bonnet. First, remove the upper engine cover, then lift the coil and, using a socket wrench of the appropriate size, unscrew the glow plug to remove it from the base, followed by installing the new one. by ScegliAuto More videos
|
|
For advertising on this site Write to info@scegliauto.com
ScegliAuto is not responsible for any inaccuracy of the data in the lists. To report any inaccuracy or your business (if you own the business in question), please write to info@scegliauto.com
Number of seconds to generate the page: 0.124
(c) ScegliAuto 2026 - info@scegliauto.com - Privacy policy VAT number: IT01247470535 |
