
|
Do it yourself
| |||
| ||||


How to Replace the Clutch Discs on the KTM XCW 300
Model: Ktm Xcw 300
Video tutorial
Today, follow these instructions to remove and replace the clutch discs on the KTM XCW 300 enduro bike. First, place the bike on a stand and start by loosening the oil drain bolt located under the engine, allowing the oil to drain into a container for about ten minutes. Next, remove the screws securing the clutch cover, then unscrew the screws of the clutch pack and consequently remove all the discs, as shown in the video. At this point, install the new clutch kit, fitting the new gasket and reassembling everything.
Updated on 5 October 2026 by ScegliAuto
Related tutorials
Xcw 300
To replace the exhaust pipe of the KTM XCW 300, you need to loosen the screws that secure the exhaust terminal to its housing on the left side of the…

Xcw 300
In order to replace the battery of the KTM XCW 300, you will need to loosen the screw located in the front part of the seat: this way it will be poss…
Xcw 300
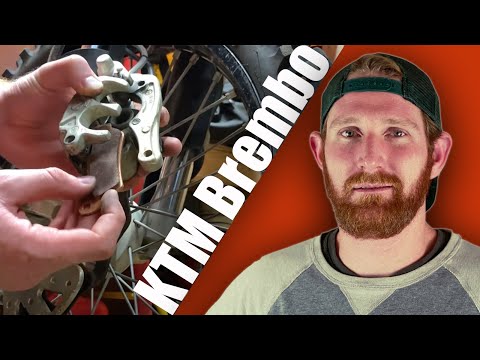
In this video, you will see how to remove and replace the front brake pads and how to replace the brake fluid on a KTM XCW 300, following these simpl…
|
How to Change the Engine Oil on a Benelli 150
To change the engine oil on a Benelli 150, ensure the bike is on a stable surface, using the centre stand to keep it upright. Before starting, it's helpful to run the engine for a few minutes to warm the oil and facilitate drainage. Turn off the engine and locate the drain plug situated under the engine. Using an appropriate spanner, loosen the plug and position a container underneath to collect the used oil. Allow it to drain completely, ensuring all the liquid is removed. Once emptied, carefully re-tighten the plug, avoiding overtightening. Using a funnel, slowly pour new oil into the tank, checking the level with the dipstick or inspection window. When the level is correct, start the engine for a couple of minutes to circulate the new oil, then turn it off and check the level again, topping up if necessary. by ScegliAuto More videos
|
|
For advertising on this site Write to info@scegliauto.com
ScegliAuto is not responsible for any inaccuracy of the data in the lists. To report any inaccuracy or your business (if you own the business in question), please write to info@scegliauto.com
Number of seconds to generate the page: 0.006
(c) ScegliAuto 2026 - info@scegliauto.com - Privacy policy VAT number: IT01247470535 |
