
|
Do it yourself
| |||
| ||||



How to Adjust the Handbrake on the Land Rover Freelander II
Model: Land Rover Freelander
Freelander 2
- Years:
2006, 2007, 2008, 2009, 2010, 2011, 2012, 2013, 2014, 2015, 2016
Video tutorial
To adjust the handbrake on a Land Rover Freelander 2, start with the shoes inside the drum, not the cable. The cable is adjusted last. Begin at the rear of the centre console, then remove the small compartment and loosen the handbrake cable adjuster nut, so the brake no longer acts on the rear shoes. Lift the car, place it on jack stands, and remove the wheel. Remove the plastic access cap on the drum. Rotate the drum until you draw an imaginary line between the hub and the bottom of the caliper to locate the star adjuster. Using a flat screwdriver, turn the star adjuster: on the passenger side, turn it towards the front of the car to tighten the drum. Tighten until the drum offers resistance, then slightly loosen. Refit the cap and the wheel. Now, from inside the car, adjust the cable nut if necessary: the goal is for the handbrake to engage in about three clicks.
Posted on 3 October 2026 by ScegliAuto
Related tutorials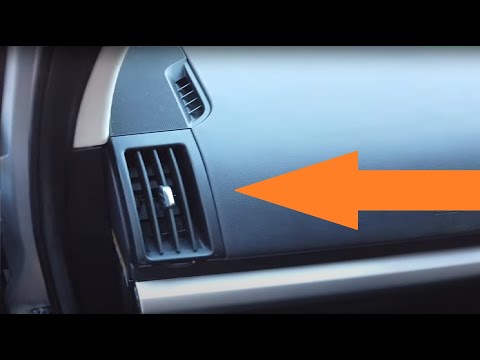
Land Rover Freelander
(2006-2016 /
Freelander 2)
This video tutorial shows how to remove the air vents in a Land Rover Freelander 2. First, remove and extract the plastic panels located at the sides…
Land Rover Freelander
(1997-2006 /
Freelander 1)
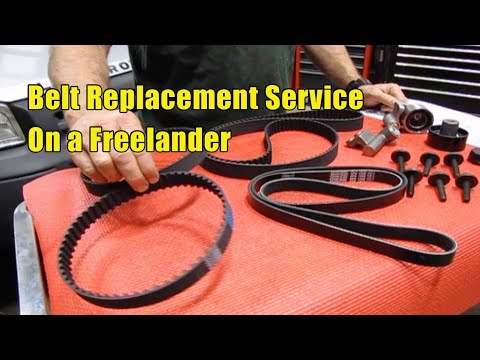
Before you begin, open the front bonnet of your Land Rover Freelander. Start by unclipping and removing the auxiliary belt cover. This will also expo…
Land Rover Freelander
(2006-2016 /
Freelander 2)
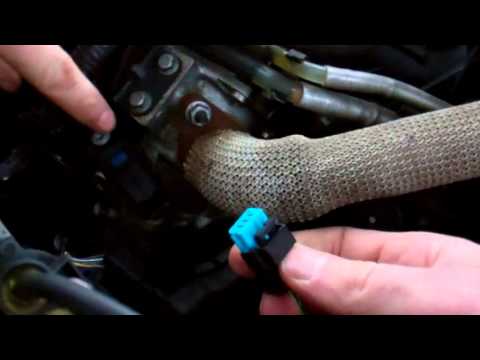
This video clearly describes the procedure for removing and replacing the EGR valve in a Land Rover Freelander 2. After opening the bonnet and removi…
ScegliAuto offers an extensive international collection of automotive tutorials available in 12 languages. Each guide combines instructional videos with original explanations written by experienced human editors, along with information about the car models covered.
Other guides you may be interested in
|
How to Reset the Tyre Pressure Light on the Hyundai i20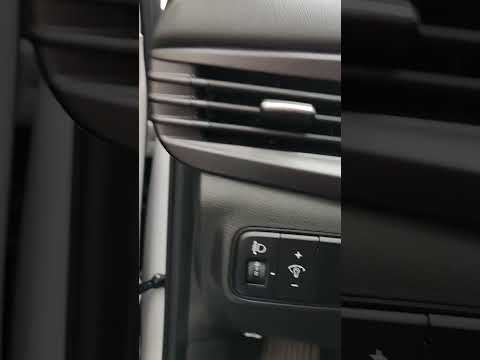
These brief instructions will show you how to reset the tyre pressure monitoring system (TPMS) light on the Hyundai i20. Before performing the reset, ensure that all four tyres are at the correct operating pressure. Then, get inside the cabin and turn on the ignition. Now, press and hold the TPMS reset button located on the left side of the driver's seat until the tyre pressure light resets on the instrument panel, as shown in the video. At this point, turn off the ignition and start the engine to complete the process! by ScegliAuto More videos
|
|
For advertising on this site Write to info@scegliauto.com
ScegliAuto is not responsible for any inaccuracy of the data in the lists. To report any inaccuracy or your business (if you own the business in question), please write to info@scegliauto.com
Number of seconds to generate the page: 0.016
(c) ScegliAuto 2026 - info@scegliauto.com - Privacy policy - About us VAT number: IT01247470535 |
