
|
Do it yourself
| |||
| ||||


How to Remove the Driver Airbag on Mahindra XUV 500
Model: Mahindra Xuv500
MK 1
- Years 2011-2018
In this video, you can see how to remove the driver airbag on a Mahindra XUV 500. First, get inside the vehicle, engage the parking brake, remove the key, pull the hood release lever, lift the hood, and secure it with the prop rod. Disconnect and isolate the negative battery terminal; turn the steering wheel clockwise to access the upper cover of the steering column; using a screwdriver of the right size, loosen the mounting screw; now turn the steering wheel counterclockwise to access the other mounting screw and loosen it using the same screwdriver. Now turn the steering wheel to the right and keep it straight to pull out the steering column; you can also remove the upper cover by hand; turn the steering wheel to the right and insert the removal tool into the slot while simultaneously releasing the lock by pushing the tool down. Now turn the steering wheel counterclockwise to access the other lock; repeat the same procedure here and pull the airbag from its housing, then disconnect the wires.
Updated on 17 July 2026 by ScegliAuto
Video tutorial
Related tutorials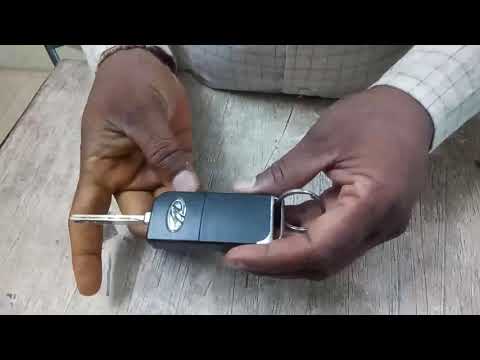
Mahindra Xuv500
(2011-2018 /
MK 1)
If the battery of your Mahindra Xuv 500 key is completely dead and you need to replace it, this guide is all you need. Just follow these steps to per…
Mahindra Xuv500
(2011-2018 /
MK 1)
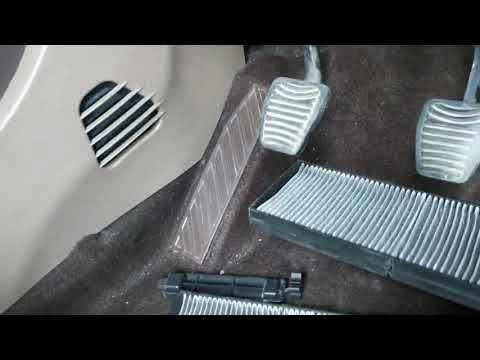
The cabin air filter in your Mahindra XUV 500 plays a crucial role in maintaining optimal air quality while using the air conditioning. Therefore, it…
Mahindra Xuv500
(2011-2018 /
MK 1)
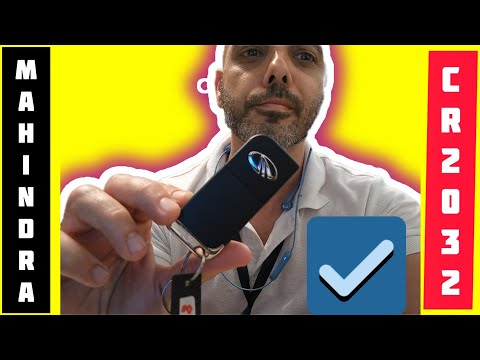
In this video tutorial, you will see how to replace the remote battery on the Mahindra XUV 500 by following a few simple steps that will guide you in…
Other guides you may be interested in
|
How to Reset the Tyre Pressure Light on the Opel Grandland X
While driving, if you notice the tyre pressure warning light coming on, first check the actual inflation pressure of the tyres and, if necessary, restore the pressures recommended by the manufacturer. After restoring the correct pressures, you need to reset the warning light that has illuminated on the instrument cluster. To do this, locate the reset button on the lower central console. Press this button and hold it down for at least 3 seconds, after which the low pressure indication will turn off. by ScegliAuto More videos
|
|
For advertising on this site Write to info@scegliauto.com
ScegliAuto is not responsible for any inaccuracy of the data in the lists. To report any inaccuracy or your business (if you own the business in question), please write to info@scegliauto.com
Number of seconds to generate the page: 0.283
(c) ScegliAuto 2026 - info@scegliauto.com - Privacy policy VAT number: IT01247470535 |
