
|
Do it yourself
| |||
| ||||


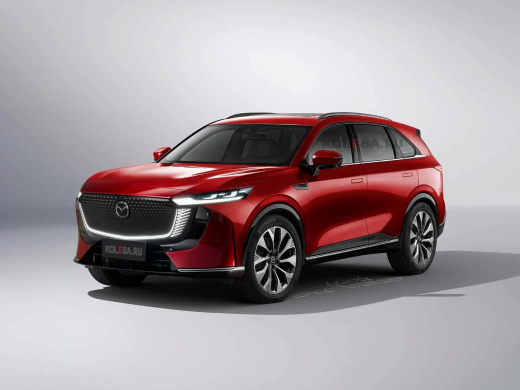
How to Connect Google to the Mazda CX-5 2026 and Use Voice Commands
Model: Mazda CX-5
KI
- Years:
2026
Video tutorial
The new Mazda CX-5 introduces a completely revamped infotainment system with Google integrated on board. To connect your Google account, create a driver profile from the Settings menu, select "Profile and Account", add the account, and scan the QR code with your smartphone. Once connected, your favourites and Google Maps history, calendar, and apps will automatically appear. Voice commands allow you to manage many functions without touching the screen: climate control ("turn on the heated steering wheel", "heat the seats", "passenger temperature 15°C"), navigation ("navigate to Rome", "what's the weather like in Rome?"), entertainment ("play Elton John music on Spotify"), and personal queries ("what appointments do I have today?"). In the future, an OTA (Over-the-air) update will bring Gemini, Google's AI, which will understand natural language and context. The car has an integrated eSIM for Google services (maps, traffic), while for data-intensive apps (Spotify, YouTube), you can use your smartphone's hotspot. You can also set a PIN to protect personal data and reset everything before selling the car.
Posted on 5 October 2026 by ScegliAuto
Related tutorials
Mazda CX-5
(2017-2024 /
MK 2)
Today we will explain how to use the emergency metal key of the remote control of a 2023 Mazda CX 5. The emergency key is inserted inside most of the…

Mazda CX-5
(2012-2017 /
KE, MK 1)
The OBD2 port on a Mazda CX 5 vehicle is located inside the cabin. The OBD2 port is used for performing diagnostics, correcting error codes, resettin…
Mazda CX-5
(2017-2024 /
MK 2)
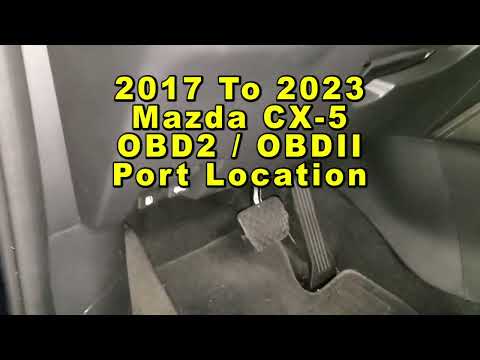
In this new guide dedicated to all of you who own a second-generation Mazda CX-5, we will discover where the OBD2 port is located, allowing you to co…
Other guides you may be interested in
|
How to Remove the Rear Bumper on a Peugeot 308
This article outlines the procedure to remove and replace the rear bumper on a Peugeot 308 T9. First, remove the screws located in the wheel arch of the rear wheels, then remove the plastic clips underneath the bumper. Next, take off the wheel arch cover, and remove the plastic nut. After removing the nut, disconnect the connectors present. Now, remove the fixing screws located underneath the bumper and also the plastic clips. Once all clips and screws are removed, you can take off the bumper for repair or replacement. by ScegliAuto More videos
|
|
For advertising on this site Write to info@scegliauto.com
ScegliAuto is not responsible for any inaccuracy of the data in the lists. To report any inaccuracy or your business (if you own the business in question), please write to info@scegliauto.com
Number of seconds to generate the page: 0.099
(c) ScegliAuto 2026 - info@scegliauto.com - Privacy policy VAT number: IT01247470535 |
