
|
Do it yourself
| |||
| ||||


How to remove the rear bumper of the Mercedes GLC
Model: Mercedes Glc
C253, X253, MK 1
- Years 2015-2022
In this video, we see how to remove the rear bumper of the Mercedes GLC: we start by removing the wheel arch trim, then we remove the clips that hold the wheel arch inside the fender; once these are removed and the wheel arch is loosened, we begin to remove the screws from the inside that hold the bumper to the body, then we separate the lower part of the bumper from the body itself. Now, from below, we remove the lower fixing screws to remove the protection located at the bottom, so that we can then remove the wheel arch and the trim on the other side. Now we open the rear trunk, where there is a large bolt, corresponding to the lock, that we need to remove; we release the hatch of the tailgate and unclip the clips. Using a wrench with an extension, we remove the four screws found under the plastic cover we removed, we remove the carpet cover to physically remove all the electrical connectors, and now from the outside we can lever to pull the bumper towards us.
Posted on 13 June 2025 by ScegliAuto
Video tutorial
Related tutorials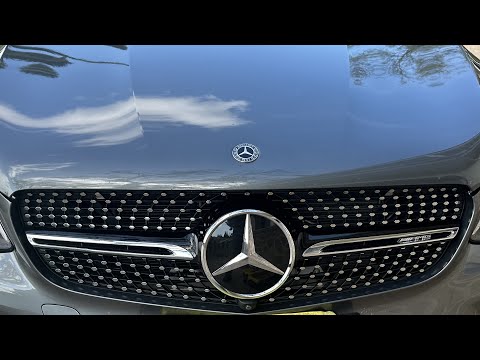
Mercedes Glc
(2015-2022 /
C253, X253, MK 1)
Follow these instructions to remove and replace the front bumper grille on a Mercedes GLC without removing the front bumper. First, open the hood of …
Mercedes Glc
(2015-2022 /
C253, X253, MK 1)
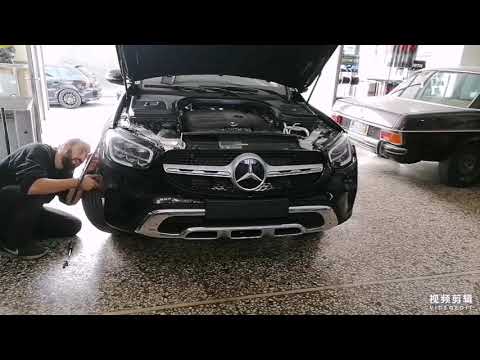
Follow the steps necessary to remove and replace the front bumper of the Mercedes GLC, as outlined below. First, open the hood and start removing the…

Mercedes Glc
(2015-2022 /
C253, X253, MK 1)
In order to open the rear hatch of the Mercedes GLC, you need to approach it with the key fob or the ignition key of the car: once in position, you c…
Other guides you may be interested in
|
How to Replace the External Wing Mirror on a Ford C MAX
In the event of a breakage, it will be necessary to replace the external wing mirror on the 2011 Ford C MAX. This operation is easily performed independently. Start by removing the internal cover of the mirror with a plastic lever. Then, use a socket wrench to remove the securing pins. Once the pins are removed, you can take off the mirror, but not before disconnecting the power connectors. Then proceed to fit the new mirror. First, connect the connectors and then secure the mirror to its housing with the pins. Refit the plastic cover and test the operation of the electric mirror using the controls. by ScegliAuto More videos
|

|
For advertising on this site Write to info@scegliauto.com
ScegliAuto is not responsible for any inaccuracy of the data in the lists. To report any inaccuracy or your business (if you own the business in question), please write to info@scegliauto.com
Number of seconds to generate the page: 0.084
(c) ScegliAuto 2026 - info@scegliauto.com - Privacy policy VAT number: IT01247470535 |
