
|
Do it yourself
| |||
| ||||



How to Replace the Front Headlamp Bulbs on a Mercedes B-Class
Model: Mercedes Classe B
W245, MK 1
- Years:
2005, 2006, 2007, 2008, 2009, 2010, 2011
Video tutorial
How to replace the front headlamp bulbs on a Mercedes B-Class. Open the front bonnet by pulling the lever located at the bottom right of the dashboard, and secure it with the prop rod. Locate the inspection cap of the headlamp (located at the rear of the headlamp) and remove it. Pull the bulb holder out of the front headlamp and extract the damaged bulbs using a screwdriver. Fit the new bulbs (always the correct type and size) and insert the bulb holder into the headlamp housing, then replace the plastic cover cap. Reassemble all previously removed parts.
Updated on 13 March 2026 by ScegliAuto
Related tutorials
Mercedes Classe B
(2005-2011 /
W245, MK 1)
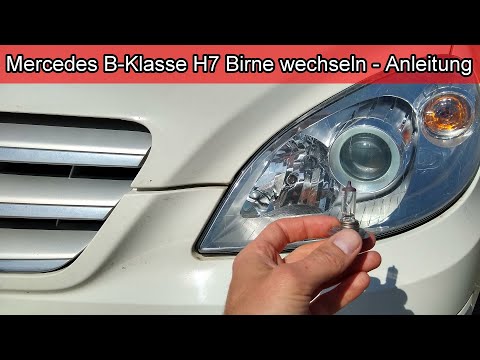
.. front headlamp (driver's side) on the Mercedes B-Class W245 is quite simple. Once the bonnet is opened and secured, first unclip and move the washer fluid.. …
Mercedes Classe B
(2005-2011 /
W245, MK 1)
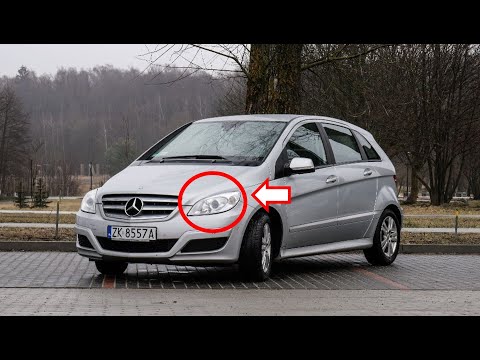
.. the headlight bulb on the Mercedes-Benz B-Class W245, first series. First, open the bonnet and start by removing the fluid reservoir located at.. …
Mercedes Classe B
(2005-2011 /
W245, MK 1)
.. a bulb from the front headlamp of your Mercedes Class B? Let's see how to do it in the best way. Open the bonnet of the engine compartment and secure.. …
ScegliAuto offers an extensive international collection of automotive tutorials available in 12 languages. Each guide combines instructional videos with original explanations written by experienced human editors, along with information about the car models covered.
Other guides you may be interested in
|
How to Program the Smart Key?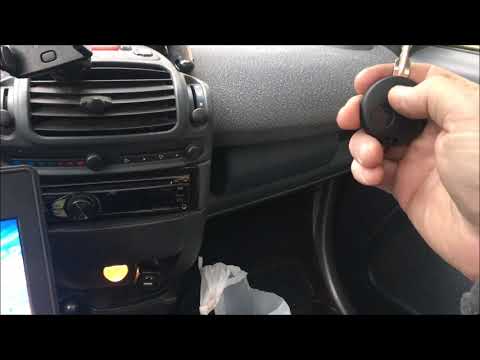
To program the Smart key, you must use a diagnostic tool: insert the key into the ignition switch located on the central tunnel, then connect the scanner to the vehicle's OBD port. Here, select the relevant car model and its corresponding version, following all instructions in the user and maintenance manual. Once the operation is complete, disconnect the scanner from the port and check that the key functions correctly. by ScegliAuto More videos
|
|
For advertising on this site Write to info@scegliauto.com
ScegliAuto is not responsible for any inaccuracy of the data in the lists. To report any inaccuracy or your business (if you own the business in question), please write to info@scegliauto.com
Number of seconds to generate the page: 0.016
(c) ScegliAuto 2026 - info@scegliauto.com - Privacy policy - About us VAT number: IT01247470535 |
