
|
Do it yourself
| |||
| ||||


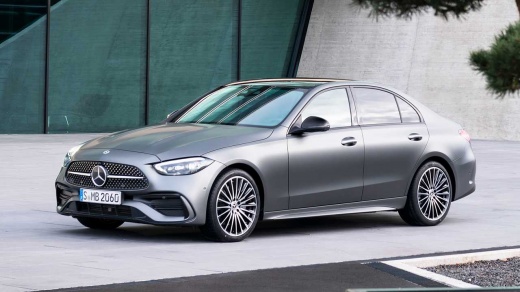
How to Reset the Maintenance Light on a Mercedes CLA
Model: Mercedes Classe C
- Years:
2021, 2022, 2023, 2024, 2025, 2026
Video tutorial
Let's see how to reset the service light on a Mercedes CLA: turn on the instrument cluster and activate the service menu by simultaneously pressing the "OK" button on the right side of the steering wheel and the "Back" button (arrow) or the "Call" button on the left side of the steering wheel. The service menu will appear on the display. Use the arrow buttons on the steering wheel to scroll through the options and select "Assyst Plus". Enter the menu and select "Complete Maintenance". Follow the on-screen instructions to complete the reset, which will also ask you to confirm the type of oil you have used. Once confirmed, you can exit the menu, and the service light will be reset.
Posted on 18 October 2026 by ScegliAuto
Related tutorials
Mercedes Classe C
(2021-2026 /
W206)
Let's see how to reset the service light for a 2021 Mercedes CLA: turn on the ignition, make sure you are on the main "trip" screen on the dashboard;…

Mercedes Classe C
(2014-2021 /
W205)
To reset the B1 service on the Mercedes CLA (or any Mercedes C-Class), first, get in the vehicle and close all four doors. Then, insert the key and t…
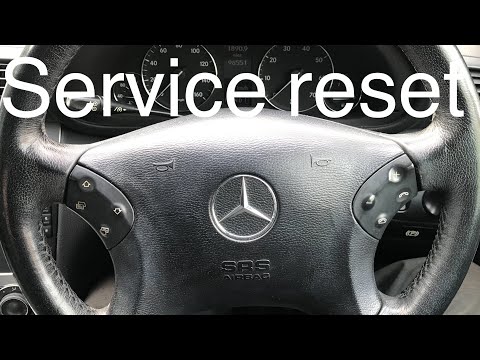
Mercedes Classe C
(2000-2007 /
W203)
What to do if the maintenance light appears? Let's see how to reset the maintenance light on a Mercedes C. Turn on the vehicle's instrument cluster, …
Other guides you may be interested in
|
How to Remove the Front Bumper of the Renault Trafic?
To remove the front bumper of the Renault Trafic, use a tool to pry off the grille at the top: once this grille is removed, you can loosen the screws at the bottom to detach the front headlights. These must now be extracted by disconnecting the underlying connectors: this will allow you to loosen the additional screws that secure the front bumper and remove it completely. At this point, you can insert the new replacement part and check that everything functions correctly. by ScegliAuto More videos
|
|
For advertising on this site Write to info@scegliauto.com
ScegliAuto is not responsible for any inaccuracy of the data in the lists. To report any inaccuracy or your business (if you own the business in question), please write to info@scegliauto.com
Number of seconds to generate the page: 0.029
(c) ScegliAuto 2026 - info@scegliauto.com - Privacy policy VAT number: IT01247470535 |
