
|
Do it yourself
| |||
| ||||


Replacing the Cabin Air Filter and Cleaning the Blower
Model: Mercedes Classe C
- Years:
1983, 1984, 1985, 1986, 1987, 1988, 1989, 1990, 1991, 1992, 1993
Video tutorial
Locate the cabin air filter, which in this case is found under the glove compartment on the passenger side. Under the glove compartment, there is a cover that you remove by unscrewing the three screws that hold it in place and one plastic screw on the left side that secures a small plastic cover. At this point, release the clips by sliding the two clips to the sides, allowing you to open the blower motor compartment. On the right side, there is a cover that can be removed by sliding the clip in its tracks, giving you access to the filter housing. Remove the old filter. Clean both compartments of any dirt present, even by running the blower itself. Insert the new filter into its housing, ensuring it is positioned correctly. Reposition the various covers in the reverse order of the operations performed. This maintenance operation was carried out on a Mercedes C-Class.
Updated on 20 February 2026 by ScegliAuto
Related tutorials
Mercedes Classe C
(2000-2007 /
W203)
In this guide we will discover one of the main problems related to the functioning of the air conditioning system of the Mercedes C-Class. In particu…

Mercedes Classe C
(2000-2007 /
W203)
People sensitive to pollen allergies should frequently replace this filter, as the cabin air filter purifies the air inside the cabin, preventing pol…

Mercedes Classe C
(2014-2021 /
W205)
Follow these steps to replace the cabin air filter on a Mercedes C-Class. First, open the hood of the vehicle and remove the plastic cover located at…
ScegliAuto offers an extensive international collection of automotive tutorials available in 12 languages. Each guide combines instructional videos with original explanations written by experienced human editors, along with information about the car models covered.
Other guides you may be interested in
|
How to Reset the Tyre Pressure Warning Light in the Suzuki Swift?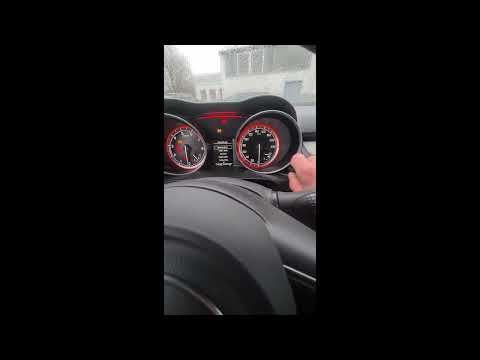
To reset the tyre pressure warning light in the Suzuki Swift, turn on the ignition, then navigate through the menu using the button located on the right side: this button should be rotated to locate the options displayed. You will need to select the option indicating tyre pressure and then select the "Reset" option: this way, the sensors will read the new tyre pressure values. If the tyres have been inflated to the correct pressure, the light will turn off automatically. by ScegliAuto More videos
|
|
For advertising on this site Write to info@scegliauto.com
ScegliAuto is not responsible for any inaccuracy of the data in the lists. To report any inaccuracy or your business (if you own the business in question), please write to info@scegliauto.com
Number of seconds to generate the page: 0.218
(c) ScegliAuto 2026 - info@scegliauto.com - Privacy policy - About us VAT number: IT01247470535 |
