
|
Do it yourself
| |||
| ||||


Replacement of the rear brake pads of the Mini Cooper
Model: Mini Mini
R56, R55, R57
- Years 2007-2014
Let's see the process of disassembling and replacing the rear brake pads of the Mini Cooper, in simple steps. First, lift the car, even just on the rear side, and start removing the wheel; then unscrew the brake caliper mounting bolts, removing it from the disc, as shown in the video. At this point, press the caliper piston to retract it, thus removing the old brake pads; clean the caliper from any remaining dirt and install the new high-quality pads. Finally, reassemble the caliper and the rear wheel!
Posted on 11 September 2024 by ScegliAuto
This video is currently unavailable
Related tutorials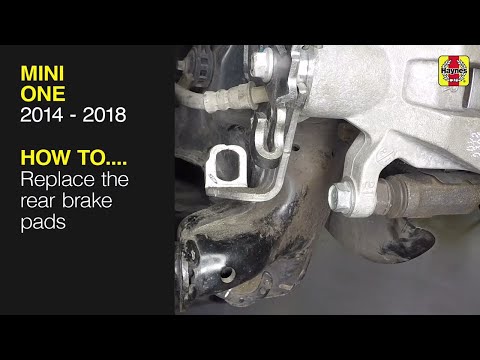
Mini
(2014-2023 /
F56, F57, F54, F55)
In today's tutorial, you will learn how to remove and replace the rear brake pads on the Mini Cooper One F55 in simple and quick steps. First, lift t…

Mini
(2014-2023 /
F56, F57, F54, F55)
The steps in this guide will show you how to remove and replace the front brake pad wear sensor on the Mini Cooper. First, lift the vehicle and start…
Mini
(2001-2007 /
R53, R52, R50)
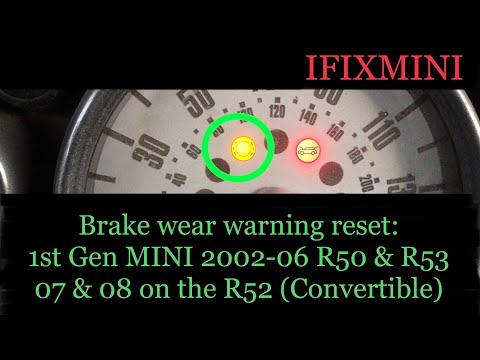
Follow these instructions to reset the brake pad wear light on your Mini Cooper. First, get inside the vehicle and keep the driver's door open; then …
Other guides you may be interested in
|
How to reset the tyre pressure warning light on the Suzuki Jimny?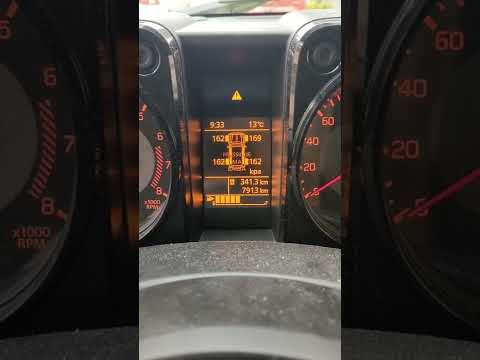
To reset the tyre pressure warning light on the Suzuki Jimny, first inflate the tyres to the pressure value indicated on the corresponding sticker: this is located at the bottom of the driver's door pillar. Once the tyres are inflated, insert the ignition key and turn on the instrument panel: select the screen that indicates the tyre pressures, checking that the values change. After a few seconds, the tyre pressure warning light will automatically turn off. by ScegliAuto More videos
|

|
For advertising on this site Write to info@scegliauto.com
ScegliAuto is not responsible for any inaccuracy of the data in the lists. To report any inaccuracy or your business (if you own the business in question), please write to info@scegliauto.com
Number of seconds to generate the page: 0.093
(c) ScegliAuto 2026 - info@scegliauto.com - Privacy policy VAT number: IT01247470535 |
