
|
Do it yourself
| |||
| ||||


How to change the drain light of the Mini One Clubman
Model: Mini Mini
F55, F56, F57, F54
- Years 2014-2023
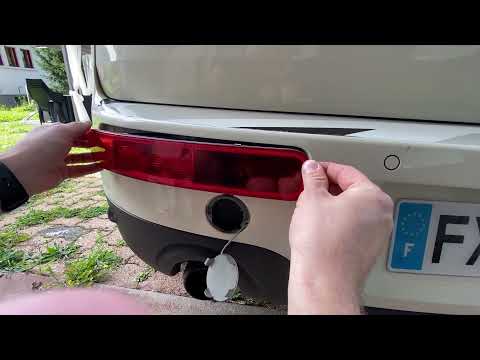
In this video, we will see how to change the brake lights of the Mini One Clubman: the first thing to do is to open the cap located in the rear bumper, just below the optical group on which we need to work; here, on the side, we find a small screw to remove. Once this is done, the rear optical group will be released and we can remove it from its housing. The wiring is long enough to allow us to work well without the need to disconnect it; we turn the bulb butterfly counterclockwise and remove it, change it (but never touch it with bare hands or it will not last long) and put it back in place, turning it clockwise. We put the optical group back in place, which we will fix with its screw. We close the cap in the bumper and the job is done.
Posted on 9 July 2025 by ScegliAuto
Video tutorial
Related tutorials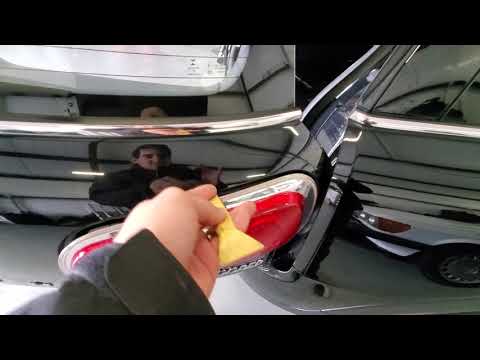
Mini
(2010-2016 /
R60, Countryman1)
In this video tutorial we will see how to remove the rear light of a Mini Clubman. First of all we open the two doors of the trunk and remove the sid…

Mini
(2007-2014 /
R55, R57, R56)
Today we will discover the steps to change the time on the central display of the Mini Clubman. First, get inside the vehicle and start the instrumen…
Mini
(2014-2023 /
F55, F56, F57, F54)
Replacing the brake light bulb, in the Mini Clubman, is an extremely simple and fast operation, in this tutorial we can see how to proceed. To do thi…
Other guides you may be interested in
|
How to Replace the Front Headlight Bulbs of a Toyota Rav4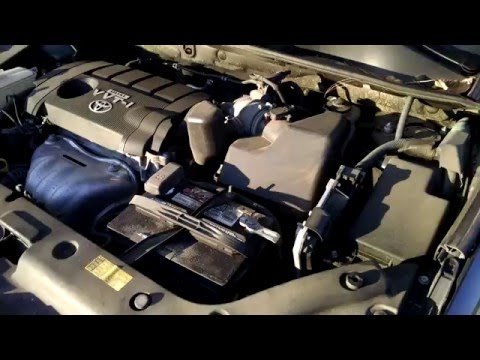
Want to change the front headlight bulbs of a Toyota Rav4 and don't know how? Follow these steps. Open the bonnet and secure it. Locate the inspection caps at the back of the headlights and remove them. At this point, you will find the bulbs with metal clips. Pull the bulb holder out of the headlight and extract the damaged bulb. Fit the new bulb (ensuring it is the correct type and size) and insert the bulb holder back into the headlight housing. Finally, close the headlight with the inspection cap. Test the lights to ensure they are functioning correctly. by ScegliAuto More videos
|

|
For advertising on this site Write to info@scegliauto.com
ScegliAuto is not responsible for any inaccuracy of the data in the lists. To report any inaccuracy or your business (if you own the business in question), please write to info@scegliauto.com
Number of seconds to generate the page: 0.095
(c) ScegliAuto 2026 - info@scegliauto.com - Privacy policy VAT number: IT01247470535 |