
|
Do it yourself
| |||
| ||||


How to reset the brake pad wear indicator on the Mini Cooper R50-52-53
Model: Mini Mini
R53, R52, R50
- Years 2001-2007
On the Mini Cooper R520, R52, and R53 versions, we have a warning light that indicates brake pad wear. It is certainly a very useful warning light, because when it lights up, we know it's time to change them. However, simply changing the brake pads is not enough for the warning light to turn off, it must be reset, which is actually very simple. After doing the job, to turn off the warning light, simply turn on the ignition and press the brake pedal for a few seconds, allowing the system to perform a verification check and turn off the wear warning light. If the warning light does not turn off, it means that the sensor is also worn out and must be replaced.
Posted on 19 September 2025 by ScegliAuto
Video tutorial
Related tutorials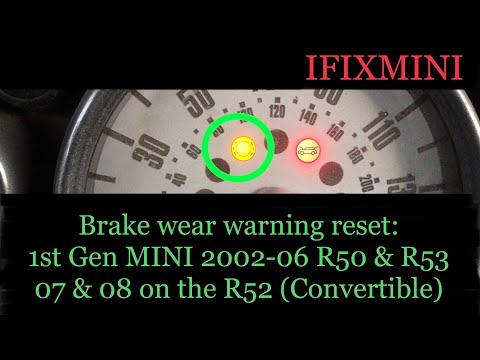
Mini
(2001-2007 /
R53, R52, R50)
Follow these instructions to reset the brake pad wear light on your Mini Cooper. First, get inside the vehicle and keep the driver's door open; then …

Mini
(2017-2023 /
Countryman2, F60)
In order to reset the brake wear indicator light of the Mini Cooper, you first need to replace the excessively worn brake pads by disconnecting the c…

Mini
(2014-2023 /
F56, F57, F54, F55)
The steps in this guide will show you how to remove and replace the front brake pad wear sensor on the Mini Cooper. First, lift the vehicle and start…
Other guides you may be interested in
|
Frequently Asked QuestionsHow to Adjust the Brightness of the Instrument Cluster on a Peugeot 3008?
To adjust the brightness of the instrument cluster on a Peugeot 3008, you need to turn on the ignition and access the settings via the menu located in the central area of the dashboard. In the screen that appears, select the "Display Configuration" option: now, by selecting the "Brightness" option, you can adjust it using the dedicated slider that will appear on the screen. The adjustment should be made with the headlights on as well as with them off. Once the adjustment is complete, you can turn off the instrument cluster. by ScegliAuto More videos
|
|
For advertising on this site Write to info@scegliauto.com
ScegliAuto is not responsible for any inaccuracy of the data in the lists. To report any inaccuracy or your business (if you own the business in question), please write to info@scegliauto.com
Number of seconds to generate the page: 0.237
(c) ScegliAuto 2026 - info@scegliauto.com - Privacy policy VAT number: IT01247470535 |
