
|
Do it yourself
| |||
| ||||


Removing the Front Door Panel
Model: Mini Mini
R53, R52, R50
- Years 2001-2007
First, remove the adhesive reflector located at the top right on the outer part of the door, beneath which is a screw securing the panel; during removal, the reflector may come off and split in two: simply re-glue it. Detach the frame around the opening handle, unscrew the four screws securing the panel, and pry along the edges to release the clips. Once the panel is detached, pull it upwards to slide it out from the window seal. Reverse the process for reassembly.
Updated on 5 February 2026 by ScegliAuto
Video tutorial
Related tutorials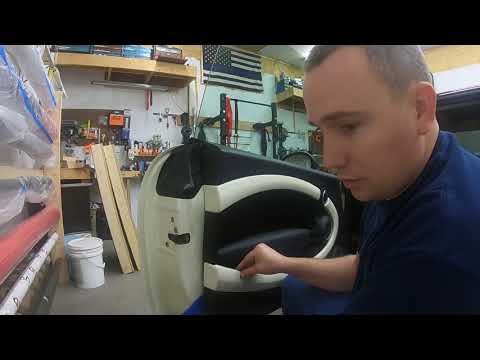
Mini
(2010-2016 /
Countryman1, R60)
Removing the door panel of a Mini? Let's look at removing the left door panel. Pry around the frame of the door opening handle with a spatula, then r…
Mini
(2001-2007 /
R53, R52, R50)
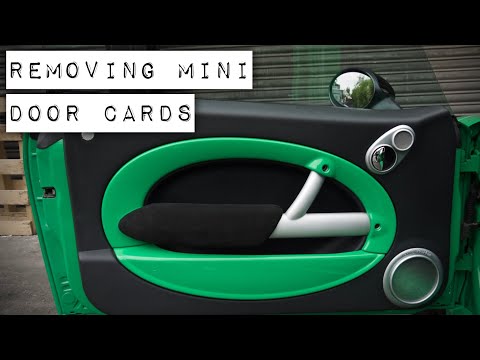
Remove the door panel (passenger side) of a Mini. Start by prying around the frame of the door opening handle, then remove the handle from the door p…
Mini
(2001-2007 /
R53, R52, R50)
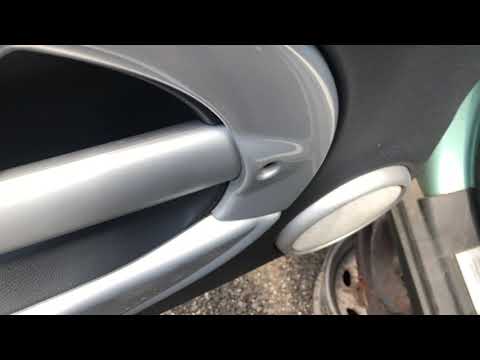
This guide reveals the procedure to remove the door panel on the Mini Cooper, following these simple steps. First, open the front door and start by u…
Other guides you may be interested in
|
What Does the "Code 60" Message Mean in the Opel Meriva?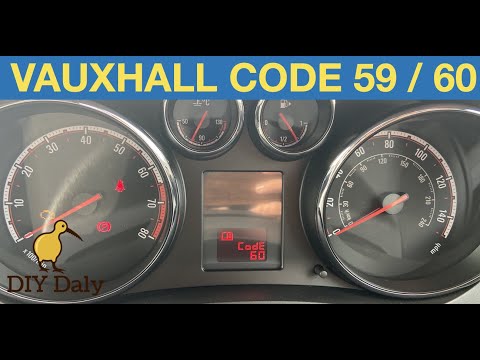
If the "Code 60" message has appeared on the dashboard of your Opel Meriva, it means that the passenger side window is not calibrated correctly. This issue can arise, for example, after disconnecting or replacing the battery, as the control unit for the various devices will lose the stored data. To remove the warning from the dashboard, simply turn on the ignition, fully open the window, and then close it. This procedure is also valid for the driver's window if the "Code 59" message appears. by ScegliAuto More videos
|
|
For advertising on this site Write to info@scegliauto.com
ScegliAuto is not responsible for any inaccuracy of the data in the lists. To report any inaccuracy or your business (if you own the business in question), please write to info@scegliauto.com
Number of seconds to generate the page: 0.287
(c) ScegliAuto 2026 - info@scegliauto.com - Privacy policy VAT number: IT01247470535 |
