
|
Do it yourself
| |||
| ||||


Removing the Radiator from a Mini Cooper
Model: Mini Mini
R53, R52, R50
- Years 2001-2007
Here’s how to remove the radiator from a Mini Cooper. Detach the engine soundproofing panel, then use an appropriate socket spanner to unscrew all the fastening screws of the front bumper. Remove the front bumper. Unscrew the fastening screws above the plates that secure the radiator at the top, then lift the car on a column lift and loosen the clamp on the water hose. Detach the various hoses of the cooling system with pliers. Once free from screws and hoses, you can extract the fan assembly and then the radiator from the engine bay. Prepare to fit the new part in the engine bay: install the cooling fans, clamps, pins, and various pipes. Refit the front bumper.
Updated on 6 May 2026 by ScegliAuto
Video tutorial
Related tutorials
Mini
(2007-2014 /
R56, R55, R57)
Let's see the information that will allow us to disassemble and replace the engine cooling radiator of the Mini Cooper S. First of all, we open the h…
Mini
(2001-2007 /
R53, R52, R50)
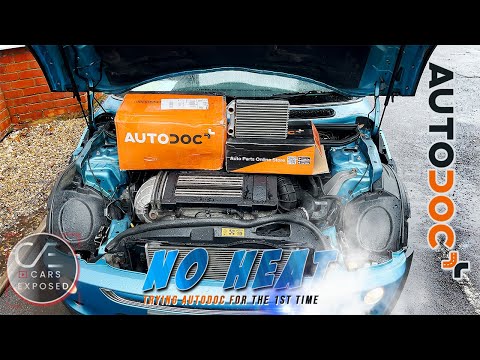
In today's tutorial, you will learn how to remove and replace the heater radiator in the Mini Cooper R53, second series, following the instructions b…

Mini
(2007-2014 /
R56, R55, R57)
In this guide, we will see the main instructions that will allow us to disassemble and replace the cooling radiator of the Mini Cooper. First of all,…
Other guides you may be interested in
|
How to Replace the Remote Battery for the Volvo XC40?
In this tutorial, you will see how to replace the battery in the remote for the Volvo XC40, a very simple and quick operation. For this, you will need a replacement battery of type CR2032 and possibly a small flathead screwdriver. First, remove the front cover by pressing the button on the metal ring, then locate the second button, press it as well, and remove the opposite cover. Next, open the circular cap, take out the old battery, and insert the new one in the opposite direction. Finally, reassemble everything. by ScegliAuto More videos
|
|
For advertising on this site Write to info@scegliauto.com
ScegliAuto is not responsible for any inaccuracy of the data in the lists. To report any inaccuracy or your business (if you own the business in question), please write to info@scegliauto.com
Number of seconds to generate the page: 0.301
(c) ScegliAuto 2026 - info@scegliauto.com - Privacy policy VAT number: IT01247470535 |
