
|
Do it yourself
| |||
| ||||



Video tutorial
The video shows how to replace the battery of a Mini Clubman. This is a simple task you can do yourself, saving a lot of money. Open the bonnet. The battery is located on the left side of the engine compartment. Using a ratchet spanner, unscrew the bolts and remove the plastic cover of the battery compartment. Also, remove the rubber seal. Then unscrew the long screw that secures the battery. Disconnect the connector. Unscrew the bolt to remove the positive terminal. Do the same for the negative terminal. Replace the battery, ensuring it is properly seated, and then reassemble everything in reverse order.
Updated on 3 June 2026 by ScegliAuto
Related tutorials
Mini
(2014-2023 /
F56, F55, F57, F54)
To replace the remote battery in the Mini Clubman, press the button on the top of the device to extract the emergency key. Once removed, leverage to …
Mini
(2014-2023 /
F56, F55, F57, F54)
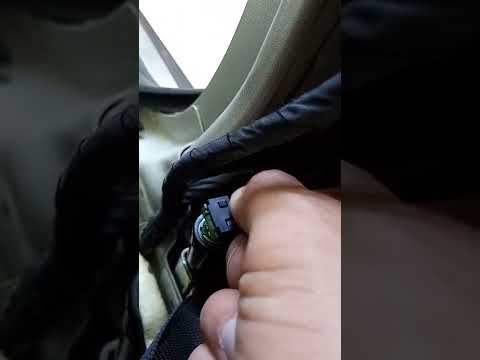
In this guide, we will provide the main instructions to remove and replace the front seatbelts on the Mini Clubman. First, get into the vehicle and s…
Mini
(2014-2023 /
F56, F55, F57, F54)
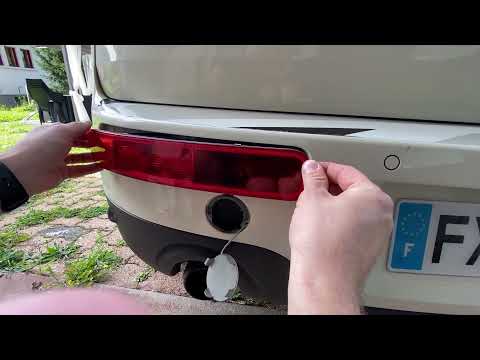
Replacing the brake light bulb in the Mini Clubman is a straightforward and quick task. In this tutorial, you will see how to proceed. First, ensure …
ScegliAuto offers an extensive international collection of automotive tutorials available in 12 languages. Each guide combines instructional videos with original explanations written by experienced human editors, along with information about the car models covered.
Other guides you may be interested in
|
Frequently Asked QuestionsAdjusting the Handbrake on a Kia Sportage
Today, learn how to adjust the handbrake on a Kia Sportage (2016-2022). Start by opening the armrest and removing the bottom with a small flat screwdriver as shown in the video. Next, remove the inner panel on the handbrake side to access its adjustment nut. Once done, use a spanner to turn the nut clockwise to increase the handbrake tension, or alternatively, loosen the tension by turning the nut anti-clockwise. After adjusting the cable tension, reassemble everything by following the reverse procedure. by ScegliAuto More videos
|
|
For advertising on this site Write to info@scegliauto.com
ScegliAuto is not responsible for any inaccuracy of the data in the lists. To report any inaccuracy or your business (if you own the business in question), please write to info@scegliauto.com
Number of seconds to generate the page: 0.064
(c) ScegliAuto 2026 - info@scegliauto.com - Privacy policy - About us VAT number: IT01247470535 |
