
|
Do it yourself
| |||
| ||||


Setting the Time on a Mini Countryman
Model: Mini Mini
Countryman1, R60
- Years 2010-2016
In this brief video guide, we will see the entire procedure necessary to change the time on the onboard computer of our Mini Countryman, first generation, produced from 2010 to 2016. First, turn on the vehicle's ignition, then rotate the knob located on the centre console to select the settings option on the central display. Once done, select the date and time option using the same knob, and finally select the time option to modify it using the same knob.
Updated on 22 July 2026 by ScegliAuto
Video tutorial
Related tutorials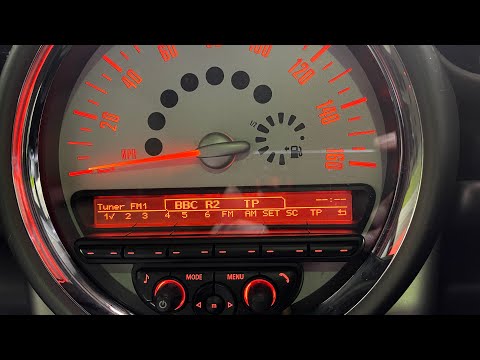
Mini
(2010-2016 /
Countryman1, R60)
In this tutorial, you will learn how to set the time in the Mini Countryman, a very simple and quick operation to perform, for example, after a time …

Mini
(2010-2016 /
Countryman1, R60)
In this new guide aimed at all of you who own a Mini Countryman R60, we will explain how you can manually change the displayed time. First of all, st…

Mini
(2017-2023 /
Countryman2, F60)
In this tutorial, you will learn how to set the time in the Mini Countryman, an extremely simple and quick operation to perform, for example, after d…
Other guides you may be interested in
|
How to Replace the Remote Battery for the Volvo XC40?
In this tutorial, you will see how to replace the battery in the remote for the Volvo XC40, a very simple and quick operation. For this, you will need a replacement battery of type CR2032 and possibly a small flathead screwdriver. First, remove the front cover by pressing the button on the metal ring, then locate the second button, press it as well, and remove the opposite cover. Next, open the circular cap, take out the old battery, and insert the new one in the opposite direction. Finally, reassemble everything. by ScegliAuto More videos
|
|
For advertising on this site Write to info@scegliauto.com
ScegliAuto is not responsible for any inaccuracy of the data in the lists. To report any inaccuracy or your business (if you own the business in question), please write to info@scegliauto.com
Number of seconds to generate the page: 0.166
(c) ScegliAuto 2026 - info@scegliauto.com - Privacy policy VAT number: IT01247470535 |
