
|
Do it yourself
| |||
| ||||


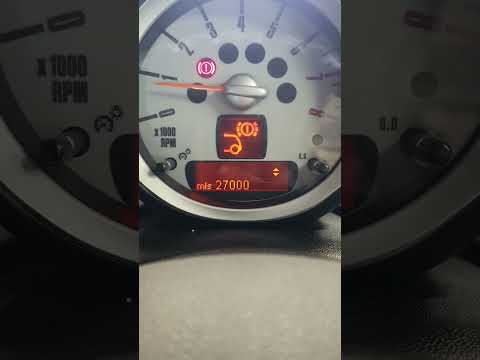
How to reset the "Service" light on a Mini Cooper?
Model: Mini Mini
R55, R57, R56
- Years 2007-2014
To reset the "Service" light on a Mini Cooper, start by turning on the instrument panel without starting the engine. Use the buttons located on the turn signal lever to navigate through the settings menu of the onboard computer. Scroll through the options until you find the section dedicated to maintenance. Select this option and follow the instructions displayed on the screen to start the reset procedure. Hold down the indicated button until the "Service" light turns off, confirming that the reset has been completed successfully. This operation should only be performed after completing the maintenance service recommended by the car manufacturer. Make sure to follow all steps carefully to ensure that the maintenance monitoring system is up to date and functioning properly.
Posted on 8 August 2024 by ScegliAuto
Video tutorial
Related tutorials
Mini
(2007-2014 /
R55, R57, R56)
Resetting the service light on the Mini Cooper 2 is a very simple operation that can be done independently. Simply turn on the car and press the BC b…
Mini
(2001-2007 /
R53, R50, R52)
Resetting or zeroing the service light on a Mini Cooper produced from 2000 to 2010 is a very simple operation that can be carried out independently, …

Mini
(2014-2023 /
F55, F56, F57, F54)
Like all cars, the Mini Cooper also has its maintenance program, detailed in the user manual. The oil change and oil filter replacement are essential…
Other guides you may be interested in
|
How to Replace the Brake Pads on a BMW X3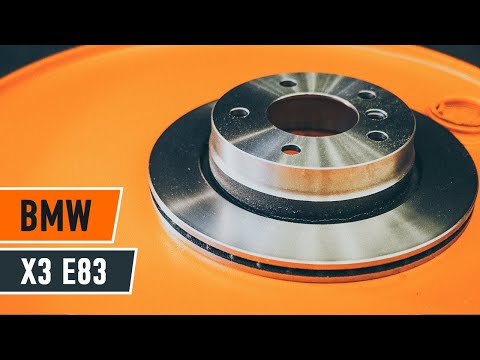
For this operation, you will need to remove the wheel where you will perform the replacement, so it will be convenient to lift your vehicle and place it on jack stands; this way, you will work much more comfortably. To remove the spring that holds the front pads, use a flathead screwdriver. Now, unscrew the bolts that secure the piston to the pads, then remove it, giving you access to both pads that brake the rotor. Of course, repeat the same steps on the other side if the same replacements are needed. by ScegliAuto More videos
|

|
For advertising on this site Write to info@scegliauto.com
ScegliAuto is not responsible for any inaccuracy of the data in the lists. To report any inaccuracy or your business (if you own the business in question), please write to info@scegliauto.com
Number of seconds to generate the page: 0.063
(c) ScegliAuto 2026 - info@scegliauto.com - Privacy policy VAT number: IT01247470535 |