
|
Do it yourself
| |||
| ||||


Nissan Micra - Video tutorial
Model: Nissan Micra
K12
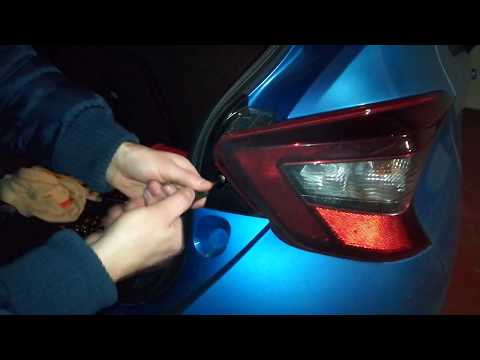
- Years 2002-2010 Before we can start, we will have to go to open the tailgate of the luggage compartment of our Nissan Micra. So let's start by unscrewing and removing the two bolts that secure the rear light to the car. After that, we will have to go and extract the light from its housing, and then disconnect the internal plug. By doing so, we will have discovered the rear side of the internal lamp holder. We then proceed by going to unhook the hooks that secure the lamp holder to the light, and we will have reached the burned out bulb. At this point, we will have to go and remove the burnt out bulb, and we will have finished the disassembly. To mount the new bulb and close the headlight, we will only have to follow these steps in reverse, and we will have completed the replacement.
Posted on 20 January 2024 by ScegliAuto
 How do you replace the rear headlight bulb of the Nissan Micra?
Nissan Micra (2017-2024 / K14) To replace the rear light bulb of the Nissan Micra, you need to open the rear hatch of the car so that you can access the screw that holds the light  How to replace the rear light bulb on a Nissan Micra?
Nissan Micra (2002-2010 / K12) Before we begin, we will have to open the tailgate of the luggage compartment of our Nissan Micra. So let's start by unscrewing and removing the two  Replacement of the Nissan Micra's parking light bulb.
Nissan Micra (2010-2017 / K13) When the position light bulb of the Nissan Micra burns out, we need to replace it as soon as possible, for our safety and to avoid penalties. We open Other guides that may interest you
|
How to activate the climate menu of the Audi A3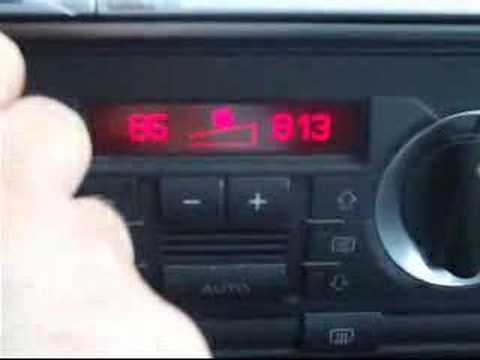
In this video we will see the procedure for activating the climate menu in our Audi A3. First let's go and turn on our car. We then turn our attention to the buttons below the stereo system. We can see that there is a small screen which shows the temperature. By simultaneously pressing the button on the left of the recirculation and the up arrow positioned on the right. In this way, the menu we were looking for will appear on the screen. By turning the knob on the left you can change the setting by choosing the desired one. We then press the two side buttons together and turn on the air conditioning. by ScegliAuto More videos
|
|
For advertising on this site Write to info@scegliauto.com
ScegliAuto is not responsible for any inaccuracy of the data in the lists. To report any inaccuracy or your business (if you own the business in question), please write to info@scegliauto.com
Number of seconds to generate the page: 0.057
(c) ScegliAuto 2024 - info@scegliauto.com - Privacy Policy VAT number: IT01247470535 |