
|
Do it yourself
| |||
| ||||


How to Replace the Cabin Filter in a First Generation Nissan Juke
Model: Nissan Juke
MK 1
- Years 2010-2019
In this video tutorial, you can see how to replace the cabin filter in a first generation Nissan Juke by following some simple steps: the first thing to do is purchase a new cabin filter from an authorised car parts dealer. The next step is to get inside the vehicle, turn off the engine, and pull the handbrake. The cabin filter is located under the glove compartment. Open the glove box and you will find a strap that needs to be removed. Now press down on the two guides to release the entire glove box (if the glove box does not come out, remove the door seal and then remove the side cover with a trim tool; here you will find a small hook that needs to be unhooked). Using a cross-head screwdriver, remove the 7 screws securing the glove box; once the screws are removed, slide out the glove box, being careful of the airbag deactivation wiring (use a plastic lever to gently pry the wiring and disconnect it from its housing); remove the glove box from its position. To access the cabin filter, you need to remove the filter cover; now you can extract the cabin filter and replace it with the new one, inserting it according to the arrows on the filter itself.
Updated on 5 July 2026 by ScegliAuto
Video tutorial
Related tutorials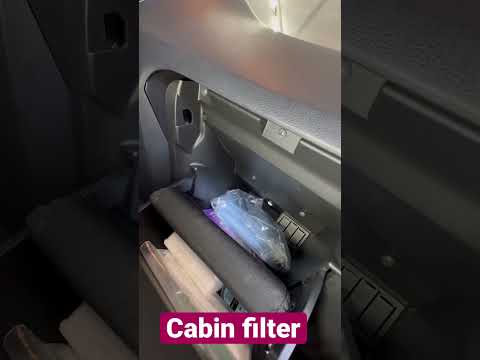
Nissan Juke
(2010-2019 /
MK 1)
To replace the cabin air filter in your first-generation Nissan Juke (2010-2019), follow these steps. Before starting, ensure the car is completely o…
Nissan Juke
(2010-2019 /
MK 1)
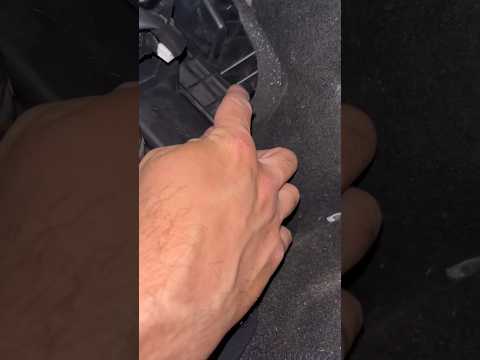
If you own a first-generation Nissan Juke (2014 model) and want to learn how to replace the cabin air filter, follow these steps. First, go to the pa…

Nissan Juke
(2010-2019 /
MK 1)
Below we will see the instructions for replacing the cabin air filter or pollen filter of the Nissan Juke. First, we get on board the car and start b…
Other guides you may be interested in
|
Where is the Spare Wheel in the Peugeot 5008?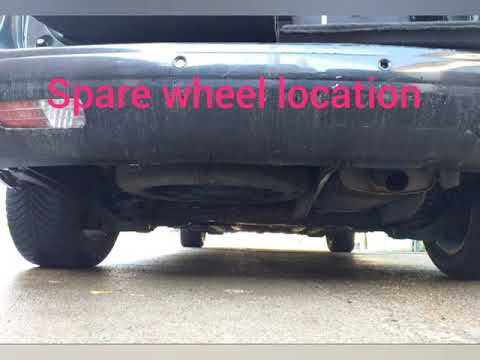
This video shows where the spare wheel is located in the Peugeot 5008 and how to access it, useful in case of a puncture. As shown, the wheel is not in the usual boot compartment but underneath it, outside the vehicle. To free the wheel, first gather the tools provided, then open the boot, locate the small indicated hatch, and open it. Next, loosen the bolt just released using the large socket wrench enough to lower the wheel to the ground. by ScegliAuto More videos
|

|
For advertising on this site Write to info@scegliauto.com
ScegliAuto is not responsible for any inaccuracy of the data in the lists. To report any inaccuracy or your business (if you own the business in question), please write to info@scegliauto.com
Number of seconds to generate the page: 0.378
(c) ScegliAuto 2026 - info@scegliauto.com - Privacy policy VAT number: IT01247470535 |
