
|
Do it yourself
| |||
| ||||


Location and Diagram of the Fuse Boxes in the Opel Astra G
Model: Vauxhall Astra
Astra G
- Years 1998-2006
The Opel Astra G has two fuse boxes. The first is located in the cabin, on the left side of the dashboard, behind a removable plastic panel near the door. To access it, pull the cover towards the outside. It contains fuses for the electric windows, radio, interior lights, fans, and windscreen wipers. The second is in the engine bay, on the left side, near the battery, enclosed in a black box with a lid. It protects the main fuses and relays for the headlights, engine, alternator, and injection system. Some models (e.g., with halogen headlights or fog lights) may have an additional fuse box near the headlight assembly. The fuse diagram is printed on the cover of each box. Before working on it, turn off the engine and disconnect the battery for safety. Use tweezers or a fuse puller to remove the fuses and always replace them with the same amperage.
Posted on 17 July 2026 by ScegliAuto
Video tutorial
Related tutorials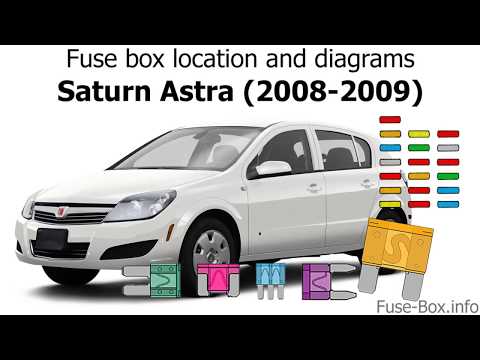
Vauxhall Astra
(2004-2010 /
Astra H)
In this video, see the location of the fuse boxes for an Opel Astra H: The first box is inside the engine bay, between the battery and the outer side…
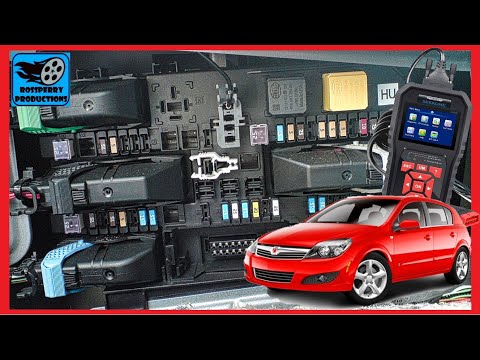
Vauxhall Astra
(2004-2010 /
Astra H)
In today's video tutorial, we will see where to find the various fuse boxes in the Opel Astra, following the instructions provided below. First, get …

Vauxhall Astra
(2009-2016 /
Astra J)
You will find the main fuse box of the Opel Astra J inside the engine compartment, on the right side (when looking at the vehicle from the front), in…
Other guides you may be interested in
|
Frequently Asked QuestionsHow to replace the horn on a Renault Duster - Dacia Duster
Today's main instructions will show you the procedure for removing and replacing the horn or sound signal on the Renault Duster, as well as the Dacia Duster. First, open the bonnet of the vehicle and start removing the front bumper by unscrewing all the fixing screws; you will find the horn right in front of the radiator, as shown in the video. At this point, disconnect the electrical connector and unscrew the bracket screw to remove and replace the horn with the new one; finally, reassemble the front bumper! by ScegliAuto More videos
|
|
For advertising on this site Write to info@scegliauto.com
ScegliAuto is not responsible for any inaccuracy of the data in the lists. To report any inaccuracy or your business (if you own the business in question), please write to info@scegliauto.com
Number of seconds to generate the page: 0.251
(c) ScegliAuto 2026 - info@scegliauto.com - Privacy policy VAT number: IT01247470535 |
