
|
Do it yourself
| |||
| ||||


Rear Bumper Painting
Model: Vauxhall Agila
Agila A
- Years 2000-2007
Small scratches on the bodywork are quite simple to repair. Start by gently sanding the damaged area with a grinder to make the surface smooth and clean from oils and grease, also using a solvent. Protect the area not involved in the touch-up with tape. Using two-component body filler or spray, evenly spread the compound on the previously treated area. Dry if necessary with an infrared lamp. Once the filler has set, sand carefully to make the surface smooth and even; if necessary, add more filler, particularly in the depressions. Repeat the sanding process. Protect the areas not involved in painting with paper and tape, then using acrylic paint and primer in a 2:1 ratio, repaint the treated area.
Updated on 6 February 2026 by ScegliAuto
Video tutorial
Related tutorials
Vauxhall Agila
(2000-2007 /
Agila A)
In this video tutorial we will show you how to remove the rear bumper of an Opel Agila. First we are going to unscrew the cross screw located in the …
Vauxhall Agila
(2000-2007 /
Agila A)
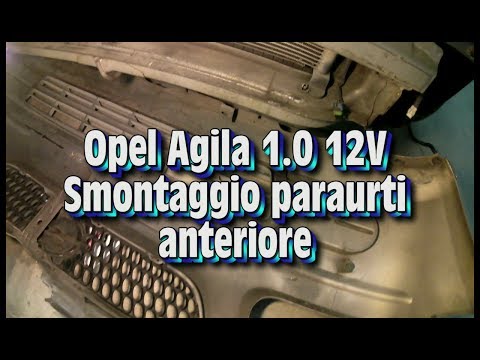
To remove the front bumper, follow these instructions. First, open the bonnet and remove the two black clips located on the upper part of the bumper …
Vauxhall Agila
(2000-2007 /
Agila A)
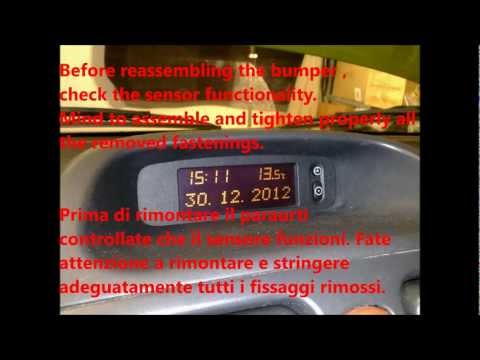
In the event of a failure of the external temperature sensor, its replacement requires the removal of the front grille. Remove the fixing screws of t…
Other guides you may be interested in
|
How to Remove the Door Panel from a Renault Clio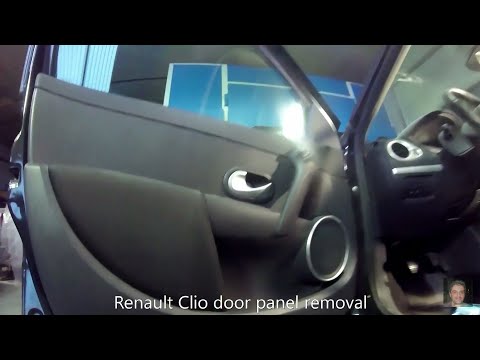
How to remove the panel from a Renault Clio? Don't worry, let's see together in this video how to proceed. Before starting the disassembly, disconnect the battery terminals located in the engine bay. Begin the disassembly: remove the plastic cover of the handle with a lever, then use a screwdriver to unscrew the internal door handle and the screws located there. Once removed, take out the window switch button, unscrew the internal door opening lever. Detach the door panel and disconnect the speaker. Be careful not to lose any of the clips behind the plastic panel you removed earlier. Replace the part and reassemble everything in reverse order. by ScegliAuto More videos
|
|
For advertising on this site Write to info@scegliauto.com
ScegliAuto is not responsible for any inaccuracy of the data in the lists. To report any inaccuracy or your business (if you own the business in question), please write to info@scegliauto.com
Number of seconds to generate the page: 0.066
(c) ScegliAuto 2026 - info@scegliauto.com - Privacy policy VAT number: IT01247470535 |