
|
Do it yourself
| |||
| ||||


Instructions for Internal Fan Adjustment
Model: Vauxhall Vectra
Vectra C, MK 3
- Years 2002-2008
If adjusting the speed of the internal fan does not change the airflow, there may be an issue with either the speed controller or the fan itself. To access the internal ventilation system, remove the glove compartment on the passenger side: open the door and unscrew the three screws along the upper inner edge; then move on to the two screws underneath and remove the glove compartment after disconnecting the internal light bulb connector. At this point, you can access the rear of the centre tunnel and remove the speed controller: it is a plate located just below the motor; once removed, check its functionality by inserting a bulb into the connector that goes to the motor: the brightness should increase as the fan speed setting increases. If the result is positive, then the problem lies with the fan: remove the front cover and check if the rotation is free or slightly obstructed; in the latter case, lubricate the fan until it rotates freely.
Updated on 13 February 2026 by ScegliAuto
Video tutorial
Related tutorials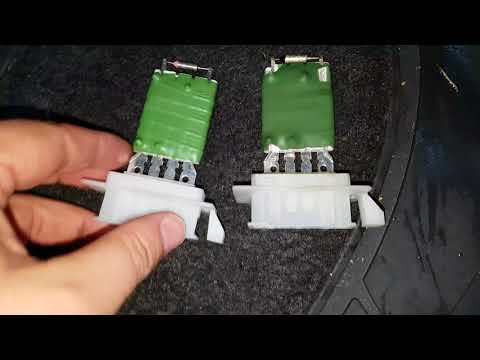
Vauxhall Vectra
(2002-2008 /
Vectra C, MK 3)
Remove the Opel Vectra interior ventilation fan. With a lever, remove the plastic covering placed under the glove compartment. The passenger compartm…
Vauxhall Vectra
(2002-2008 /
Vectra C, MK 3)
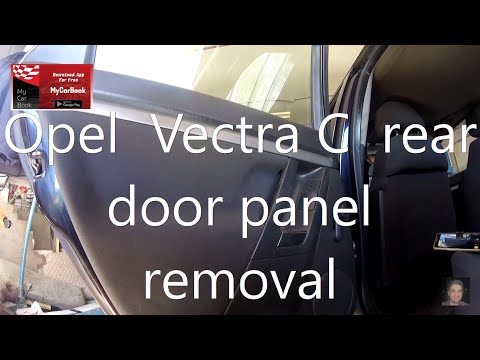
In this tutorial we can see how to remove the rear door panel in the Opel Vectra, a very simple and fast operation. First of all, open the door in qu…

Vauxhall Vectra
(1995-2002 /
MK 2, Vectra B)
The instructions in this guide will show us where to find the fuse boxes and the OBD socket of the Opel Vectra, in simple steps. First, we open the f…
Other guides you may be interested in
|
How to Remove the Front Bumper of a Subaru Impreza
Do you want to replace the front bumper of a Subaru Impreza? Follow this guide. Lift the bonnet and secure it. Using a socket wrench, unscrew the fastening bolts of the bumper located at the top as shown in the video. Once this is done, unscrew the screws of the splash guard located near the wheels, and finally remove the plastic pins/rivets at the bottom of the bumper. Remove the bumper from the vehicle body by hand. To proceed with the installation, position the bumper as shown in the video and tighten all screws around the splash guard and the perimeter. by ScegliAuto More videos
|
|
For advertising on this site Write to info@scegliauto.com
ScegliAuto is not responsible for any inaccuracy of the data in the lists. To report any inaccuracy or your business (if you own the business in question), please write to info@scegliauto.com
Number of seconds to generate the page: 0.054
(c) ScegliAuto 2026 - info@scegliauto.com - Privacy policy VAT number: IT01247470535 |