
|
Do it yourself
| |||
| ||||


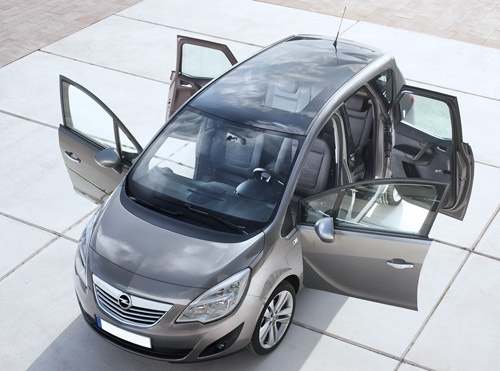
How to Change the Fuel Filter on an Opel Meriva CDTI
Model: Vauxhall Meriva
Meriva B, MK 2
- Years:
2010, 2011, 2012, 2013, 2014, 2015, 2016, 2017
Video tutorial
Let's see how to change the fuel filter on the Opel Meriva CDTI: the fuel filter is located near the right rear wheel. You can see it clearly in the video. If you want to work properly, it would be a good idea to lift the vehicle slightly. Position a basin under the filter to catch the fuel that will inevitably spill when removing it. Unscrew the central screw and then use a spanner to remove the cap. Remove the dirty filter using pliers. You can find the filter on Auto-Doc, for example, for £7.49, complete with the cap seal (which must also be changed), but you will need to pay £9.95 for shipping. Replace it, fit the new seal, and close the cap. Refit the screw. Now you need to prime the fuel system. Without starting the engine, turn the ignition on three times. This will prime the system.
Updated on 9 August 2026 by ScegliAuto
Related tutorials
Vauxhall Meriva
(2010-2017 /
Meriva B, MK 2)
The fuel pump, in the Opel Meriva CDTI 1.7, is located precisely inside the tank, which in turn is positioned at the rear of the car, under the seats…

Vauxhall Meriva
(2003-2010 /
Meriva A, MK 1)
In this guide we will see the main instructions that will allow us to disassemble and replace the alternator of the Opel Meriva 1.7 CDTi. First of al…

Vauxhall Meriva
(2003-2010 /
Meriva A, MK 1)
To replace the fuel filter on the Opel Meriva, lift the vehicle using a jack or ramp to access the components located underneath. Here, you will find…
Other guides you may be interested in
|
How to Set the Time in an Audi A4?
In this tutorial, you will see how to set the time in an Audi A4, a very simple and quick operation to perform after replacing the battery or when the time changes. First, insert the key and turn on the instrument cluster. Then, press the "SETUP" button located on the center console. Next, press the upper left arrow button, navigate to the "Time" option, and use the central knob to adjust the clock. Finally, set any necessary formats and save by returning to the main screen. by ScegliAuto More videos
|
|
For advertising on this site Write to info@scegliauto.com
ScegliAuto is not responsible for any inaccuracy of the data in the lists. To report any inaccuracy or your business (if you own the business in question), please write to info@scegliauto.com
Number of seconds to generate the page: 0.033
(c) ScegliAuto 2026 - info@scegliauto.com - Privacy policy VAT number: IT01247470535 |
