
|
Do it yourself
| |||
| ||||


Vauxhall Insigna - Video tutorial
Model: Vauxhall Insigna
MK 1, Insigna A
- Years 2008-2017 In this video, we can see where the fuse boxes of the Opel Insignia are located and what their respective diagrams are, to consult in case we need to replace the fuse of a malfunctioning device. As shown, the first box is located inside the cabin, precisely behind the small door located in the lower left area of the dashboard, on the driver's side. The second box is located in the engine compartment, next to the battery, while the third and last box is located on the left wall of the trunk. Make sure to replace faulty fuses with replacements of the same specifications.
Posted on 30 September 2023 by ScegliAuto
 Fuse box and fuse positions of the Opel Insignia
Vauxhall Insigna (2017-2024 / Insigna B, MK 2) Today's guide will show us where to find the fuse boxes and how to access their layout and diagram for the Opel Insignia, in simple steps. First, we 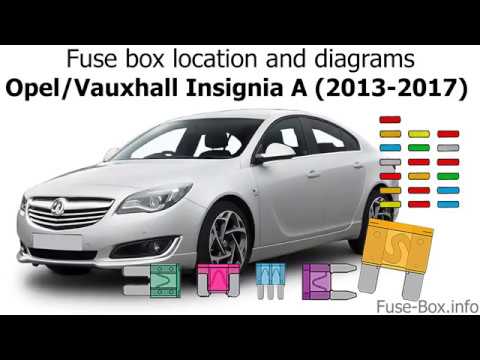 Location and fuse diagram on Opel Insignia
Vauxhall Insigna (2008-2017 / MK 1, Insigna A) The first fuse box on the Opel Insignia is located in the passenger compartment and more precisely below and to the left of the steering wheel, under 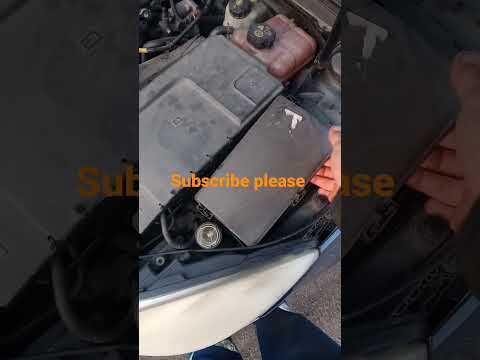 Where is the fuse box of the Opel Insignia located?
Vauxhall Insigna (2008-2017 / MK 1, Insigna A) The Opel Insignia model A has two fuse boxes inside. The first fuse box is located inside the front hood, specifically on the left side near the batt Other guides that may interest you
|
Frequently Asked QuestionsHow to set the clock on the Yamaha Xmax 300
To change the time of the Yamaha Xmax 300, keep the "trip" button pressed, at the same time turn the ignition to "on"; release the "trip" button when the time starts flashing; briefly press the "trip" button to set the time; press and hold for a few seconds to confirm and move on to the minutes; briefly press the same button to set the minutes; we long press the same "trip" button to confirm; at this point in the meantime that we hold down the minutes stop flashing the time has been saved correctly and we can turn off the instrument panel. by ScegliAuto More videos
|
|
For advertising on this site Write to info@scegliauto.com
ScegliAuto is not responsible for any inaccuracy of the data in the lists. To report any inaccuracy or your business (if you own the business in question), please write to info@scegliauto.com
Number of seconds to generate the page: 0.085
(c) ScegliAuto 2024 - info@scegliauto.com - Privacy Policy VAT number: IT01247470535 |