
|
Do it yourself
| |||
| ||||


Vauxhall Insigna - Video tutorial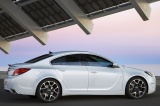
Model: Vauxhall Insigna
MK 1, Insigna A
- Years 2008-2017 Today we will discover the procedure that will allow us to dismantle and replace the front bumper of the Opel Insignia, following the instructions provided below. First, let's open the car's engine hood and start unscrewing the fastening screws and removing the plastic clips that we find above and below the front bumper. Then, let's unscrew the additional screws that we find on both sides of the front wheel arches, as shown in the video. At this point, let's gently detach the bumper on the sides until we completely remove it, and then proceed to reassemble the front bumper!
Posted on 10 October 2023 by ScegliAuto
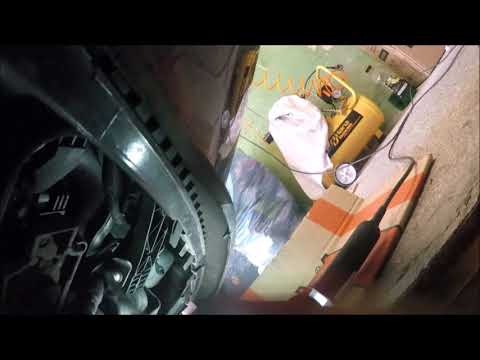 How to remove the front bumper of the Opel Insignia.
Vauxhall Insigna (2008-2017 / MK 1, Insigna A) Below we will see the steps that will allow us to disassemble and replace the front bumper of the Opel Insignia. First, we open the engine hood of ou 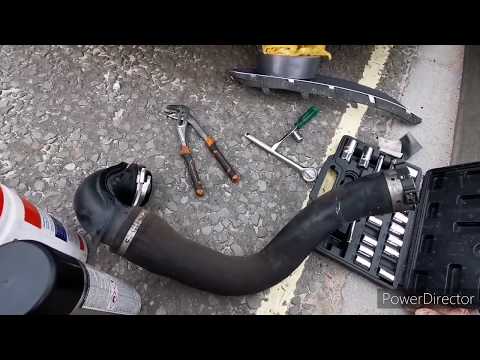 Guide to disassembling the intercooler hose on the Opel Insignia
Vauxhall Insigna (2008-2017 / MK 1, Insigna A) Let's see in this short guide the instructions that will allow us to disassemble and replace the turbo hose, but also the intercooler hose, on the Op 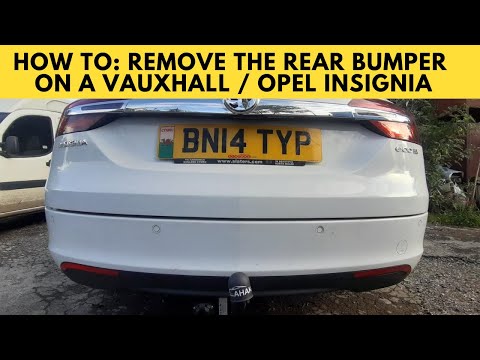 How do you remove the rear bumper of the Opel Insignia?
Vauxhall Insigna (2017-2024 / Insigna B, MK 2) In order to remove the rear bumper of the Opel Insignia you have to loosen the torx screws located near the rear lights, accessible by opening the ta Other guides that may interest you
|
How do I replace the Land Rover Evoque auxiliary battery?
In order to replace the auxiliary battery of the Land Rover Evoque, it is necessary to go inside the passenger compartment and remove the panel which is positioned immediately under the glovebox. Once the screws that secure this panel have been loosened, it will be possible to access the components located in its rear part, including the auxiliary battery. The latter must be disconnected from its cables and the fixing screws must be loosened. The battery can then be replaced with a new one and the panel can be fixed again with its screws. by ScegliAuto More videos
|
|
For advertising on this site Write to info@scegliauto.com
ScegliAuto is not responsible for any inaccuracy of the data in the lists. To report any inaccuracy or your business (if you own the business in question), please write to info@scegliauto.com
Number of seconds to generate the page: 0.032
(c) ScegliAuto 2024 - info@scegliauto.com - Privacy Policy VAT number: IT01247470535 |