
|
Do it yourself
| |||
| ||||


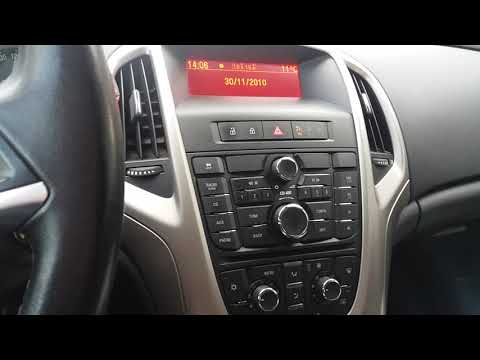
Setting the time and date on the Opel Astra.
Model: Vauxhall Astra
Astra G
- Years 1998-2006
Let's see how to adjust the date and time of an Opel Astra: next to the display that indicates the time, located on the dashboard, there are two small buttons. Press the one at the top with a clock symbol and we will see the numbers for the day start flashing. By pressing the button at the bottom, the one with a dot, we can change the value until the correct one appears. Then press the button with the clock symbol and we will move on to the month, repeating the procedure to modify it. Next will be the year, followed by the hour and minutes, which will be changed in the same way. At the end, we will have the updated date.
Posted on 19 November 2023 by ScegliAuto
Video tutorial
Related tutorials
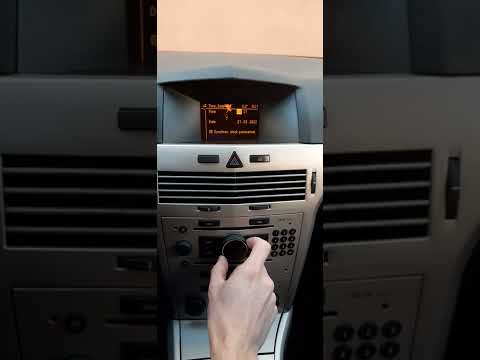
Vauxhall Astra
(2004-2010 /
Astra H)
In this video, we will see how to set the date and time on the Opel Astra version H: this is an operation that becomes necessary if we have had to do…
Vauxhall Astra
(2009-2016 /
Astra J)
To be able to set the Opel Astra clock, you need to turn on the instrument panel and then press the CONFIG button located on the central panel of the…
Vauxhall Astra
(2004-2010 /
Astra H)
In this very short video guide today, we are shown step by step how to set a new time on our Opel Astra, model H produced from 2004 to 2010. First of…
Other guides you may be interested in
|
How to Remove the Spark Plugs on an Opel Astra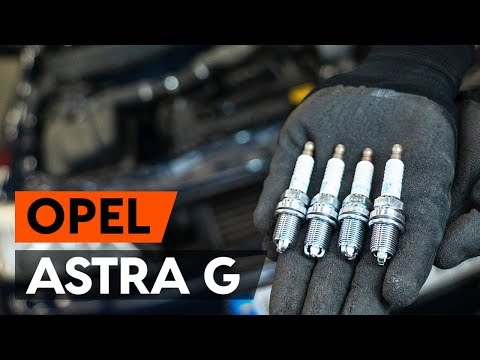
Want to remove the spark plugs on an Opel Astra? Here's how to proceed: pull the engine bay release lever and lift the front bonnet, securing it. Remove the plastic cover on the soundproofing panel covering the engine (if present), then remove the pins on the coil bar using a screwdriver. Disconnect the coils by hand after unplugging the power connector, then use your socket to unscrew the spark plugs and pull them out of the cylinder head. Take the new spark plugs and guide them into the engine head with the socket extension, tighten them and reconnect the respective power connectors. Finally, close the engine bay. by ScegliAuto More videos
|
|
For advertising on this site Write to info@scegliauto.com
ScegliAuto is not responsible for any inaccuracy of the data in the lists. To report any inaccuracy or your business (if you own the business in question), please write to info@scegliauto.com
Number of seconds to generate the page: 0.089
(c) ScegliAuto 2026 - info@scegliauto.com - Privacy policy VAT number: IT01247470535 |