
|
Do it yourself
| |||
| ||||


Vauxhall Meriva - Video tutorial
Model: Vauxhall Meriva
Meriva A, MK 1
- Years 2003-2010 If we notice that the position light bulb of the Opel Meriva has burned out, we must replace it as soon as possible. We open the trunk door, position ourselves in front of the headlight that contains the bulb to be replaced, unscrew the screws that hold the headlight body, remove it and disconnect the electrical connectors. We unscrew the two screws that hold the plate where the bulbs are housed and remove the burnt bulb, replacing it with a new 5w bulb. We put the plate back in place and secure it with its screws, connect the electrical connectors and before fixing the headlight, make sure everything is working correctly.
Posted on 23 February 2024 by ScegliAuto
Other guides that may interest you
|
Frequently Asked QuestionsHow do you adjust the clutch cable on the Kia Picanto?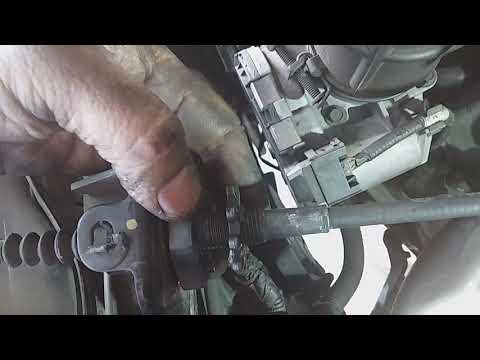
To be able to adjust the clutch cable of the Kia Picanto you need to open the hood so that you have access to the components inside the engine compartment: in order to reach the cable you will need to remove some components on the right side, such as the battery and the air filter. Below them you will find the clutch cable, which will have to be adjusted by screwing or loosening the bolt placed at the end of the cable. This will make the pedal harder or softer; after the adjustment, it will be possible to assemble all the components by closing the hood. by ScegliAuto More videos
|
|
For advertising on this site Write to info@scegliauto.com
ScegliAuto is not responsible for any inaccuracy of the data in the lists. To report any inaccuracy or your business (if you own the business in question), please write to info@scegliauto.com
Number of seconds to generate the page: 0.076
(c) ScegliAuto 2024 - info@scegliauto.com - Privacy Policy VAT number: IT01247470535 |