
|
Do it yourself
| |||
| ||||


Removal of the rear bumper of the Peugeot 107
Model: Peugeot 107
MK 1
- Years 2005-2014
Let's see how to proceed to remove the rear bumper of the Peugeot 107. We open the fuel cap door on the driver's side, using a 10mm key we unscrew the screw at the top right, with a special lever we remove the pressure plug on the wheel arch and partially detach the bumper, we open the tailgate and unscrew, with a torx 30 key, the two bolts on the upper edge of the bumper, we remove the pressure plug on the passenger side wheel arch and partially detach the bumper. We remove the plugs on the lower side near the towing attachments, using a release agent if necessary. We apply force on the upper edge of the bumper to detach it and remove the two electrical connectors to remove it permanently.
Posted on 31 October 2024 by ScegliAuto
Video tutorial
Related tutorials
Peugeot 107
(2005-2014 /
MK 1)
In this tutorial, we can see how to remove the rear bumper on the Peugeot 107, an extremely simple and quick operation. First, we open the trunk door…

Peugeot 107
(2005-2014 /
MK 1)
In order to remove the front bumper of the Peugeot 107, you need to open the hood so that you can access the screws that secure the bumper from the t…

Peugeot 107
(2005-2014 /
MK 1)
To replace the front bumper of the Peugeot 107, we start by lifting the car on the two front sides, opening the hood, going to the left front wheel a…
Other guides you may be interested in
|
How to Replace the Cabin Filter on the Opel Grandland X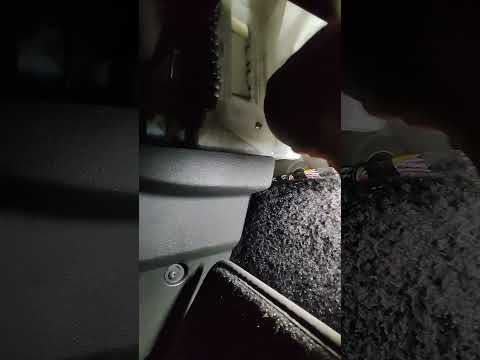
If you own an Opel Grandland X and want to know the steps to replace the cabin air filter, carefully read the following guide and follow the described steps. First, enter the vehicle and go to the passenger side. Then, locate the box containing the air filter in the lower side area of the dashboard. Remove the cover of the box and finally replace the old filter with the new one. Refit the cover, and you are done. by ScegliAuto More videos
|
|
For advertising on this site Write to info@scegliauto.com
ScegliAuto is not responsible for any inaccuracy of the data in the lists. To report any inaccuracy or your business (if you own the business in question), please write to info@scegliauto.com
Number of seconds to generate the page: 0.134
(c) ScegliAuto 2026 - info@scegliauto.com - Privacy policy VAT number: IT01247470535 |
