
|
Do it yourself
| |||
| ||||


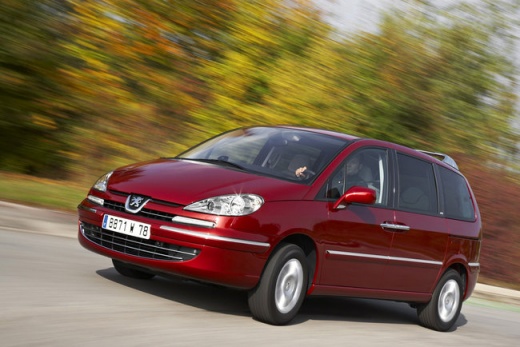
How do you remove the front bumper of the Peugeot 807?
Model: Peugeot 807
MK 1
- Years:
2002, 2003, 2004, 2005, 2006, 2007, 2008, 2009, 2010, 2011, 2012, 2013
Video tutorial
The purpose of the work presented in the attached video tutorial is to disassemble the front bumper followed by the installation of the front xenon headlights. Let’s move on to the practical execution: we start by unscrewing the locking pins along the entire upper edge, then the lower edge, and continue by removing the front wheel wells, which allows us to reach the rear locking pins of the bumper in question. Once this is done, we unscrew the locking pins of the headlights, disconnect the power cable connectors, and finish by removing the lights from their housing to replace them.
Posted on 4 December 2025 by ScegliAuto
Related tutorials
Peugeot 807
(2002-2014 /
MK 1)
The cooling fan fuse of your Peugeot 807 is located inside the fuse box. The fuse box is situated within the glove compartment. To reach it, start by…

Peugeot 807
(2002-2014 /
MK 1)
In this guide dedicated to all of you who own a Peugeot 807, we will discover where the box containing all the various fuses of the vehicle is locate…

Peugeot 807
(2002-2014 /
MK 1)
Locating the OBD port inside your Peugeot 807 is very simple, and with the instructions in this guide, you will do it without any difficulty. First, …
Other guides you may be interested in
|
How to Replace the Glow Plugs in the Fiat Ducato 2.3 Multijet?
Glow plugs, as the name suggests, raise the temperature of the engine in diesel vehicles to allow for easier starting. The manufacturer, in this case, Fiat for the Ducato 2.3 Multijet, specifies how often they should be replaced, and a warning light will illuminate when it's time. This work is carried out under the bonnet. First, remove the upper engine cover, then lift the coil and, using a socket wrench of the appropriate size, unscrew the glow plug to remove it from the base, followed by installing the new one. by ScegliAuto More videos
|
|
For advertising on this site Write to info@scegliauto.com
ScegliAuto is not responsible for any inaccuracy of the data in the lists. To report any inaccuracy or your business (if you own the business in question), please write to info@scegliauto.com
Number of seconds to generate the page: 0.043
(c) ScegliAuto 2026 - info@scegliauto.com - Privacy policy VAT number: IT01247470535 |
